So I noticed the 10×15 Kluge I’m restoring was hard to turn, and since I had already oiled everything, I figured the problem could be the pump.
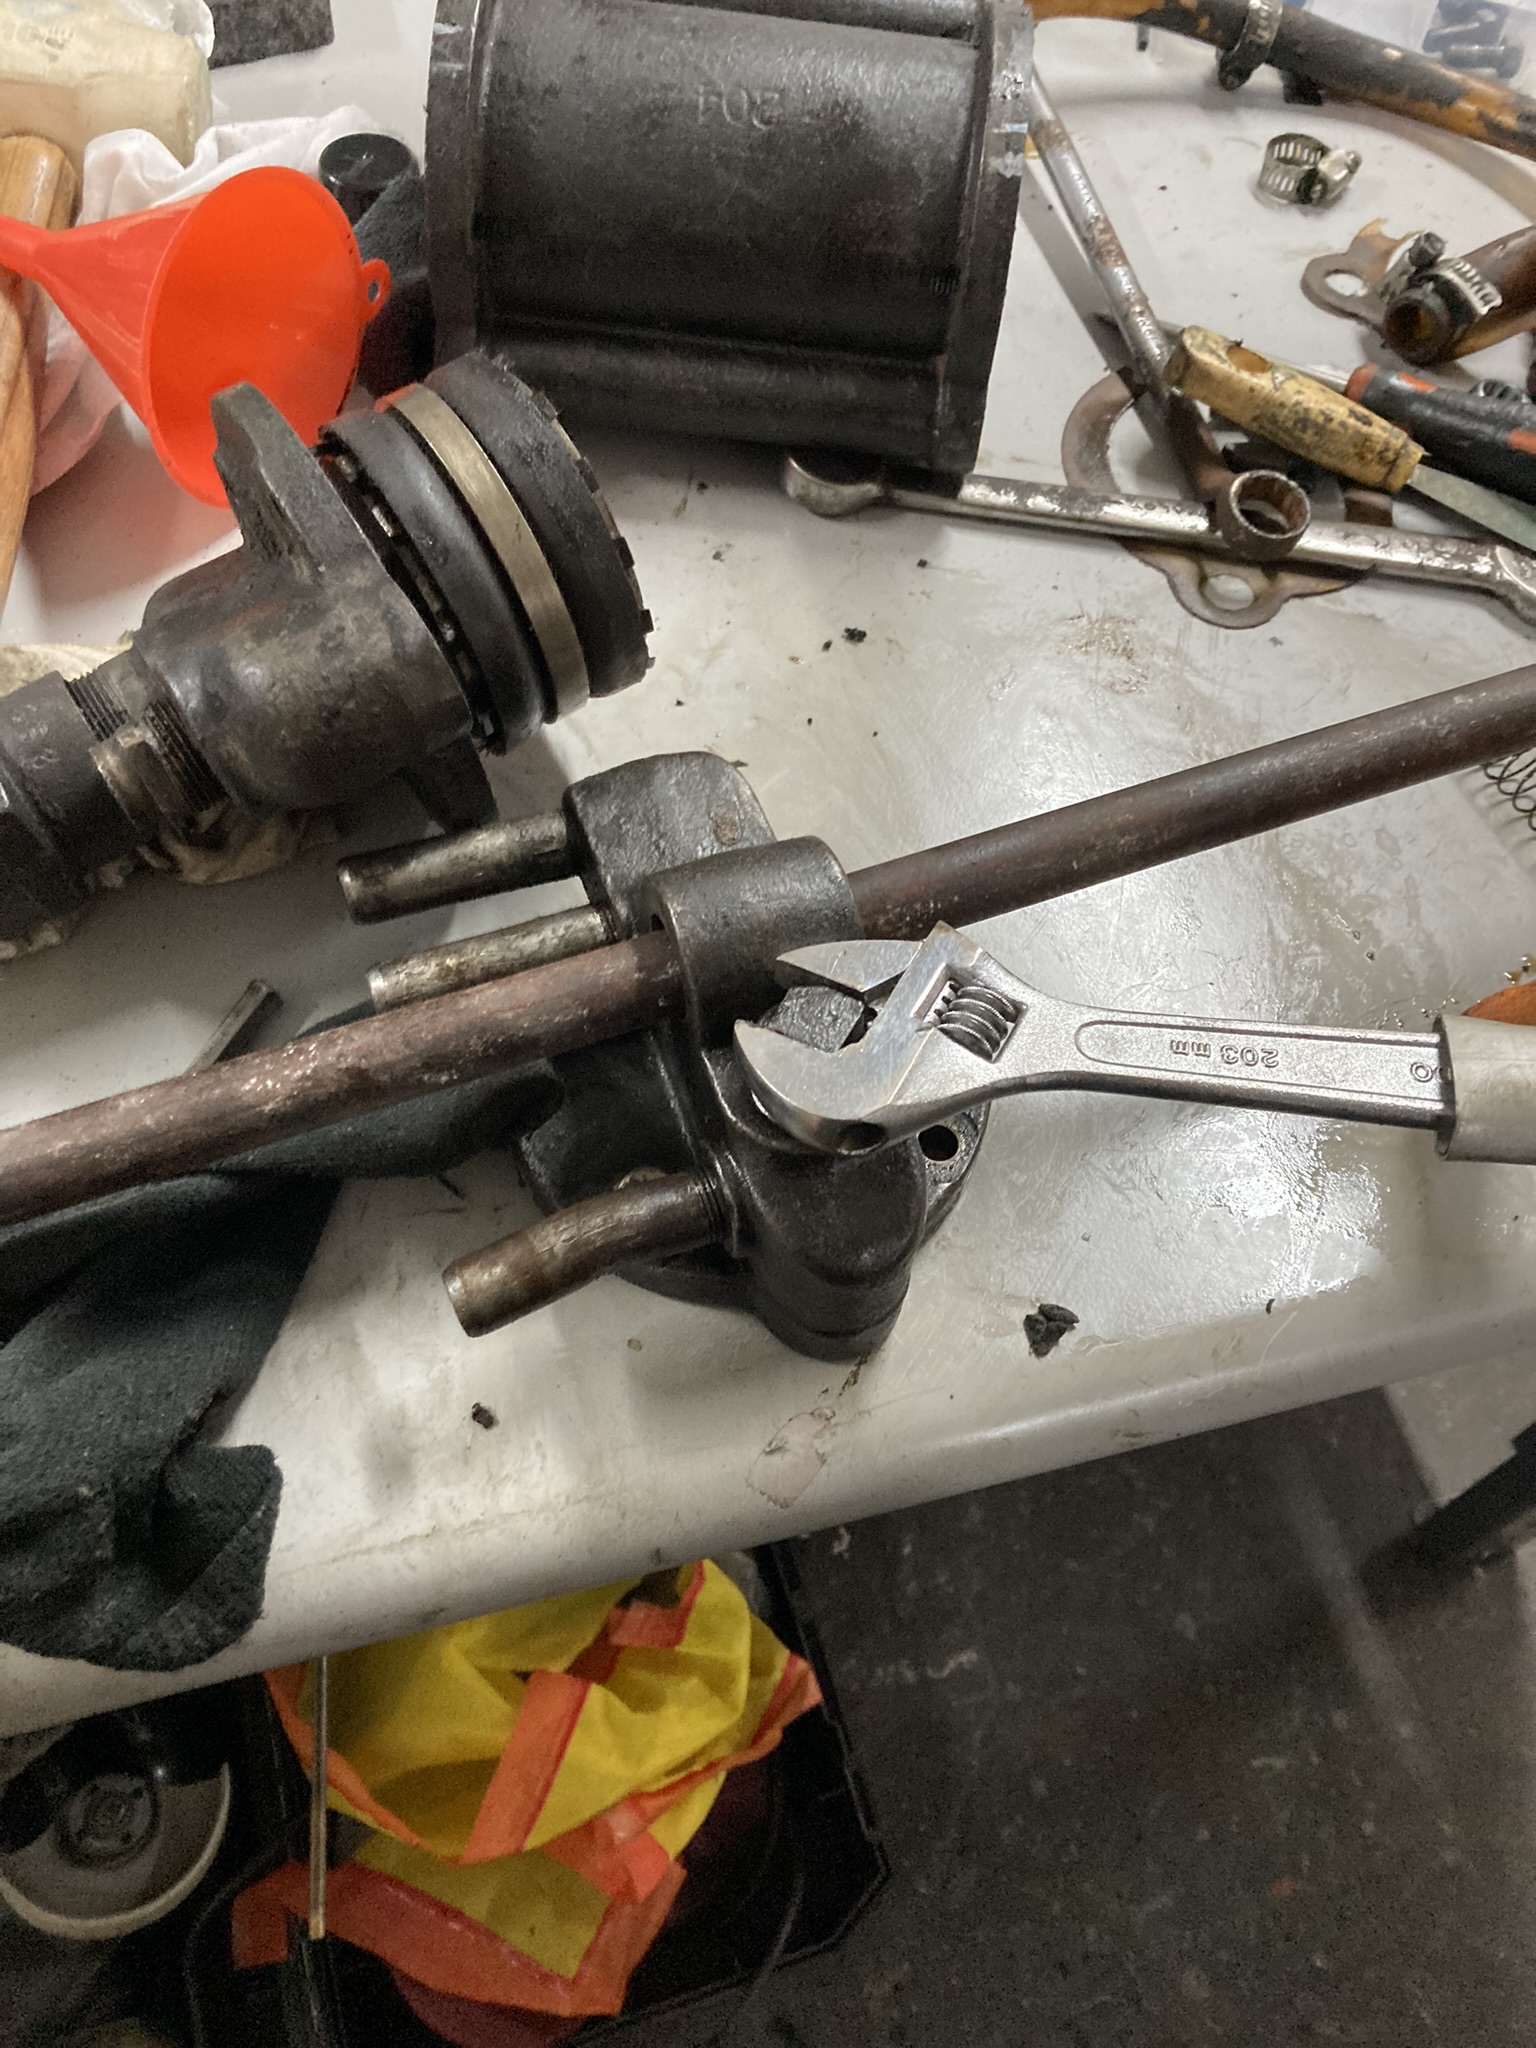
I started to disengage the pump by unscrewing the Connecting Rod Bearing (KG 215).
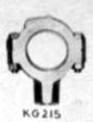
This proved to be harder than I thought. The bolt is 9/16 “, but there is a nut on the bottom and that spot is hard to reach. I was able to unscrew the bolt closer to me, but the one closer to the operator position would prove a daunting task. I used a wrench on the bottom by means of contorting my hand in position and then with a mini adjustable wrench on the top, I was able to slowly unscrew it. It’s particularly slow because it’s a fine thread.
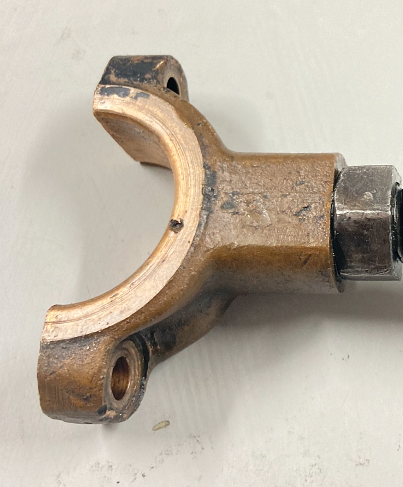
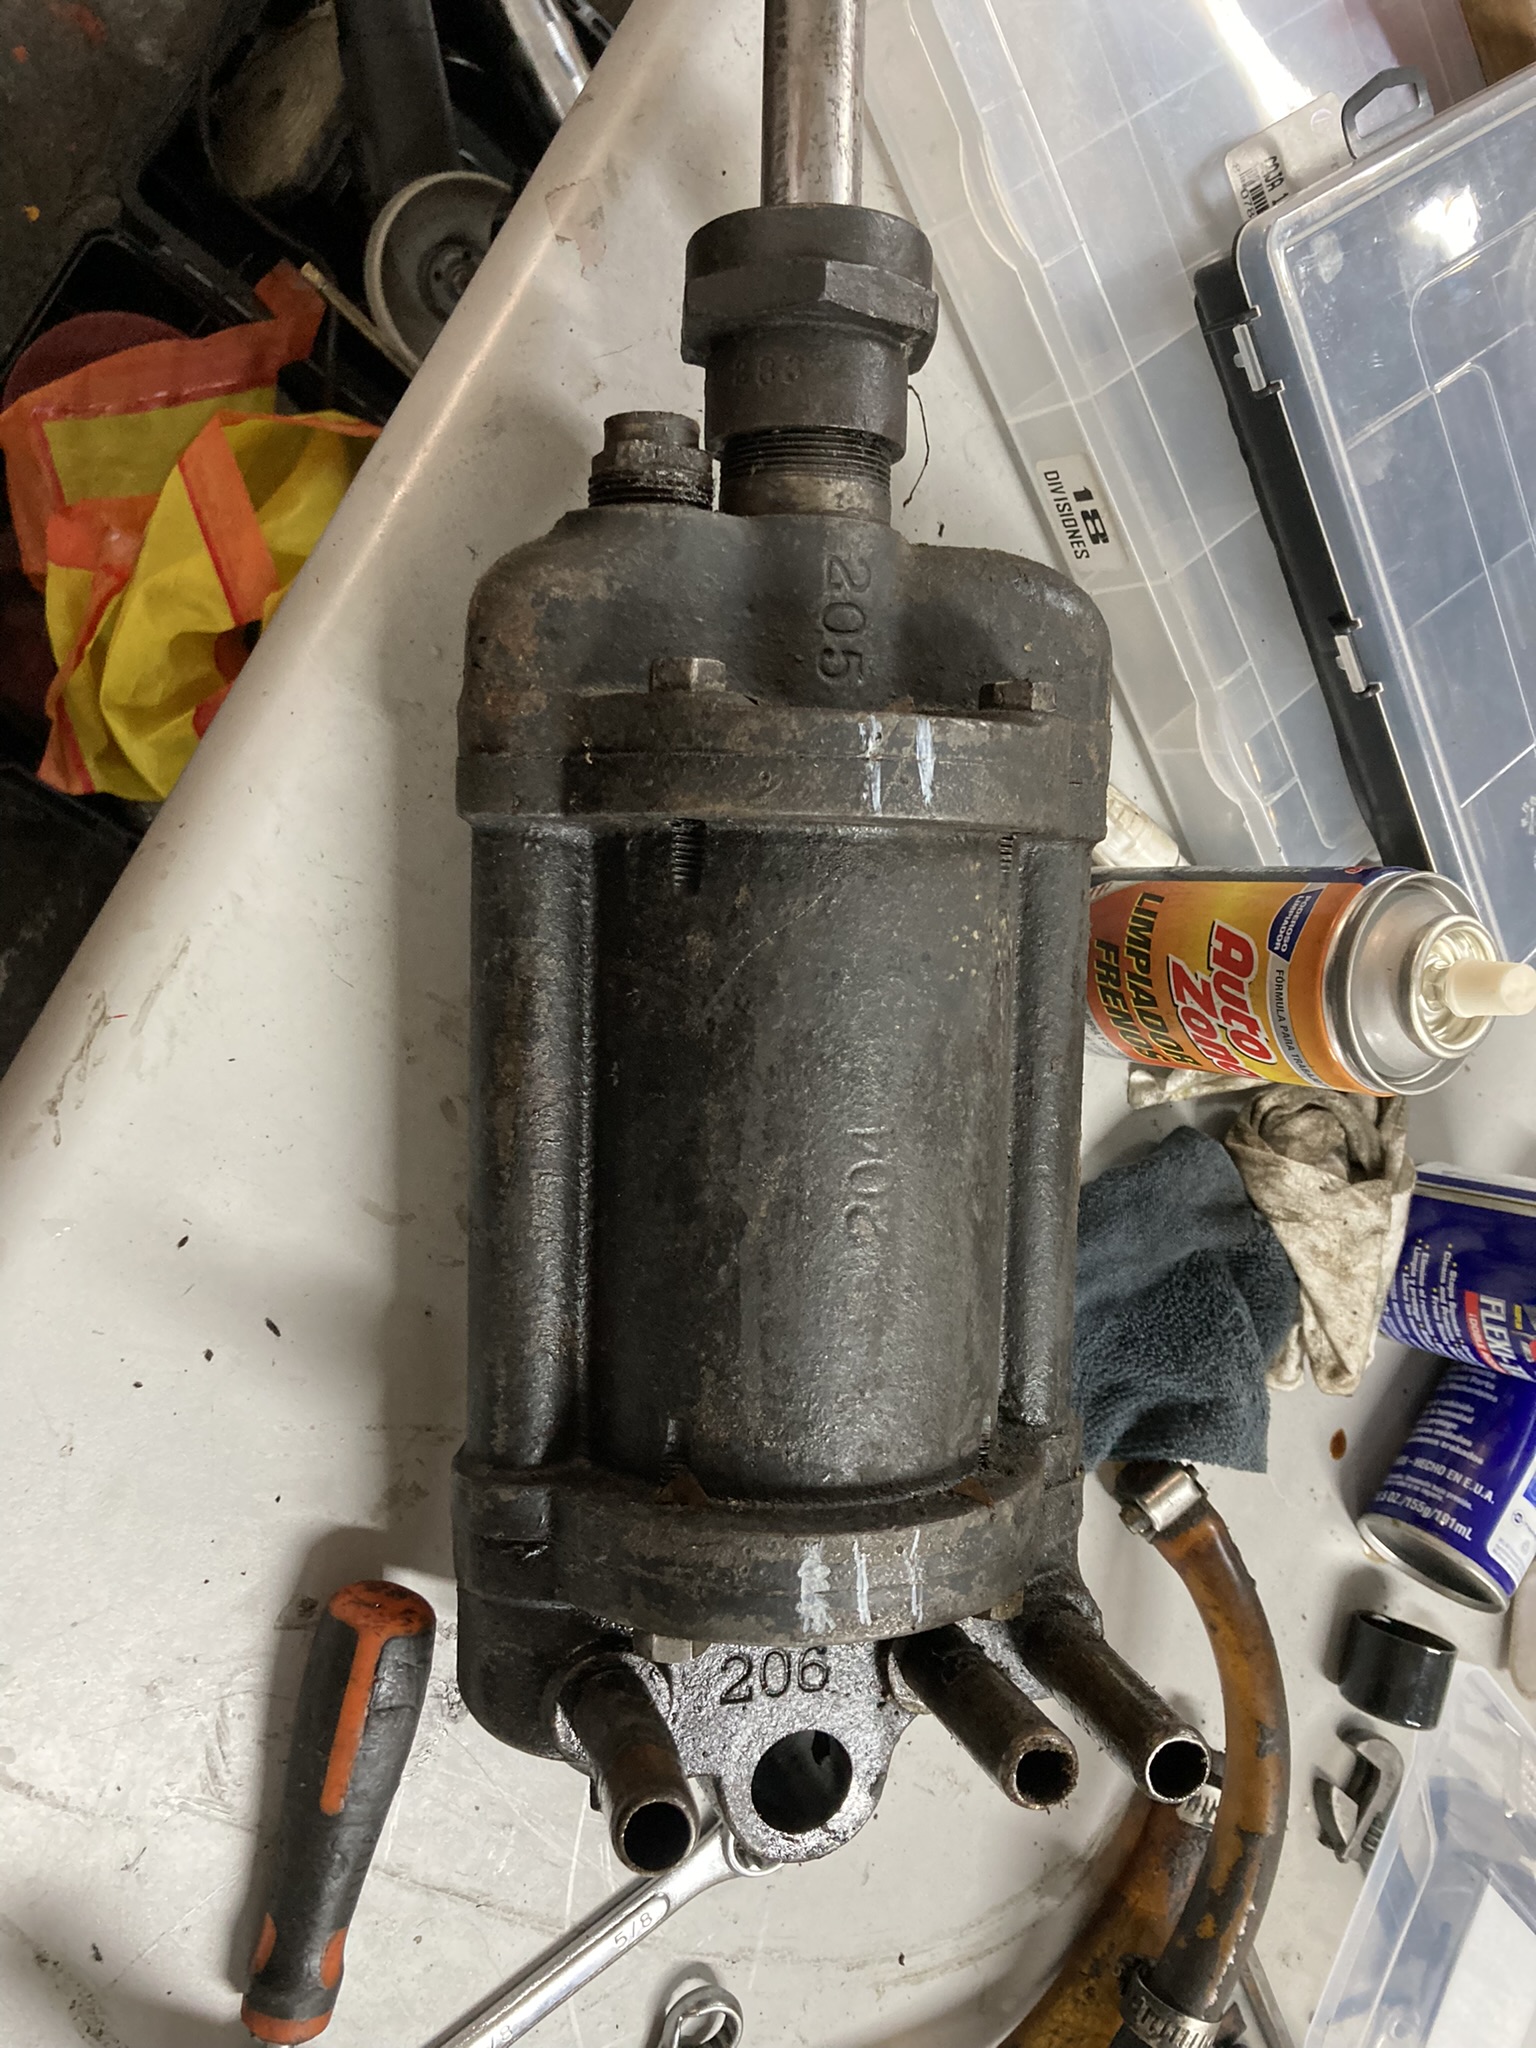
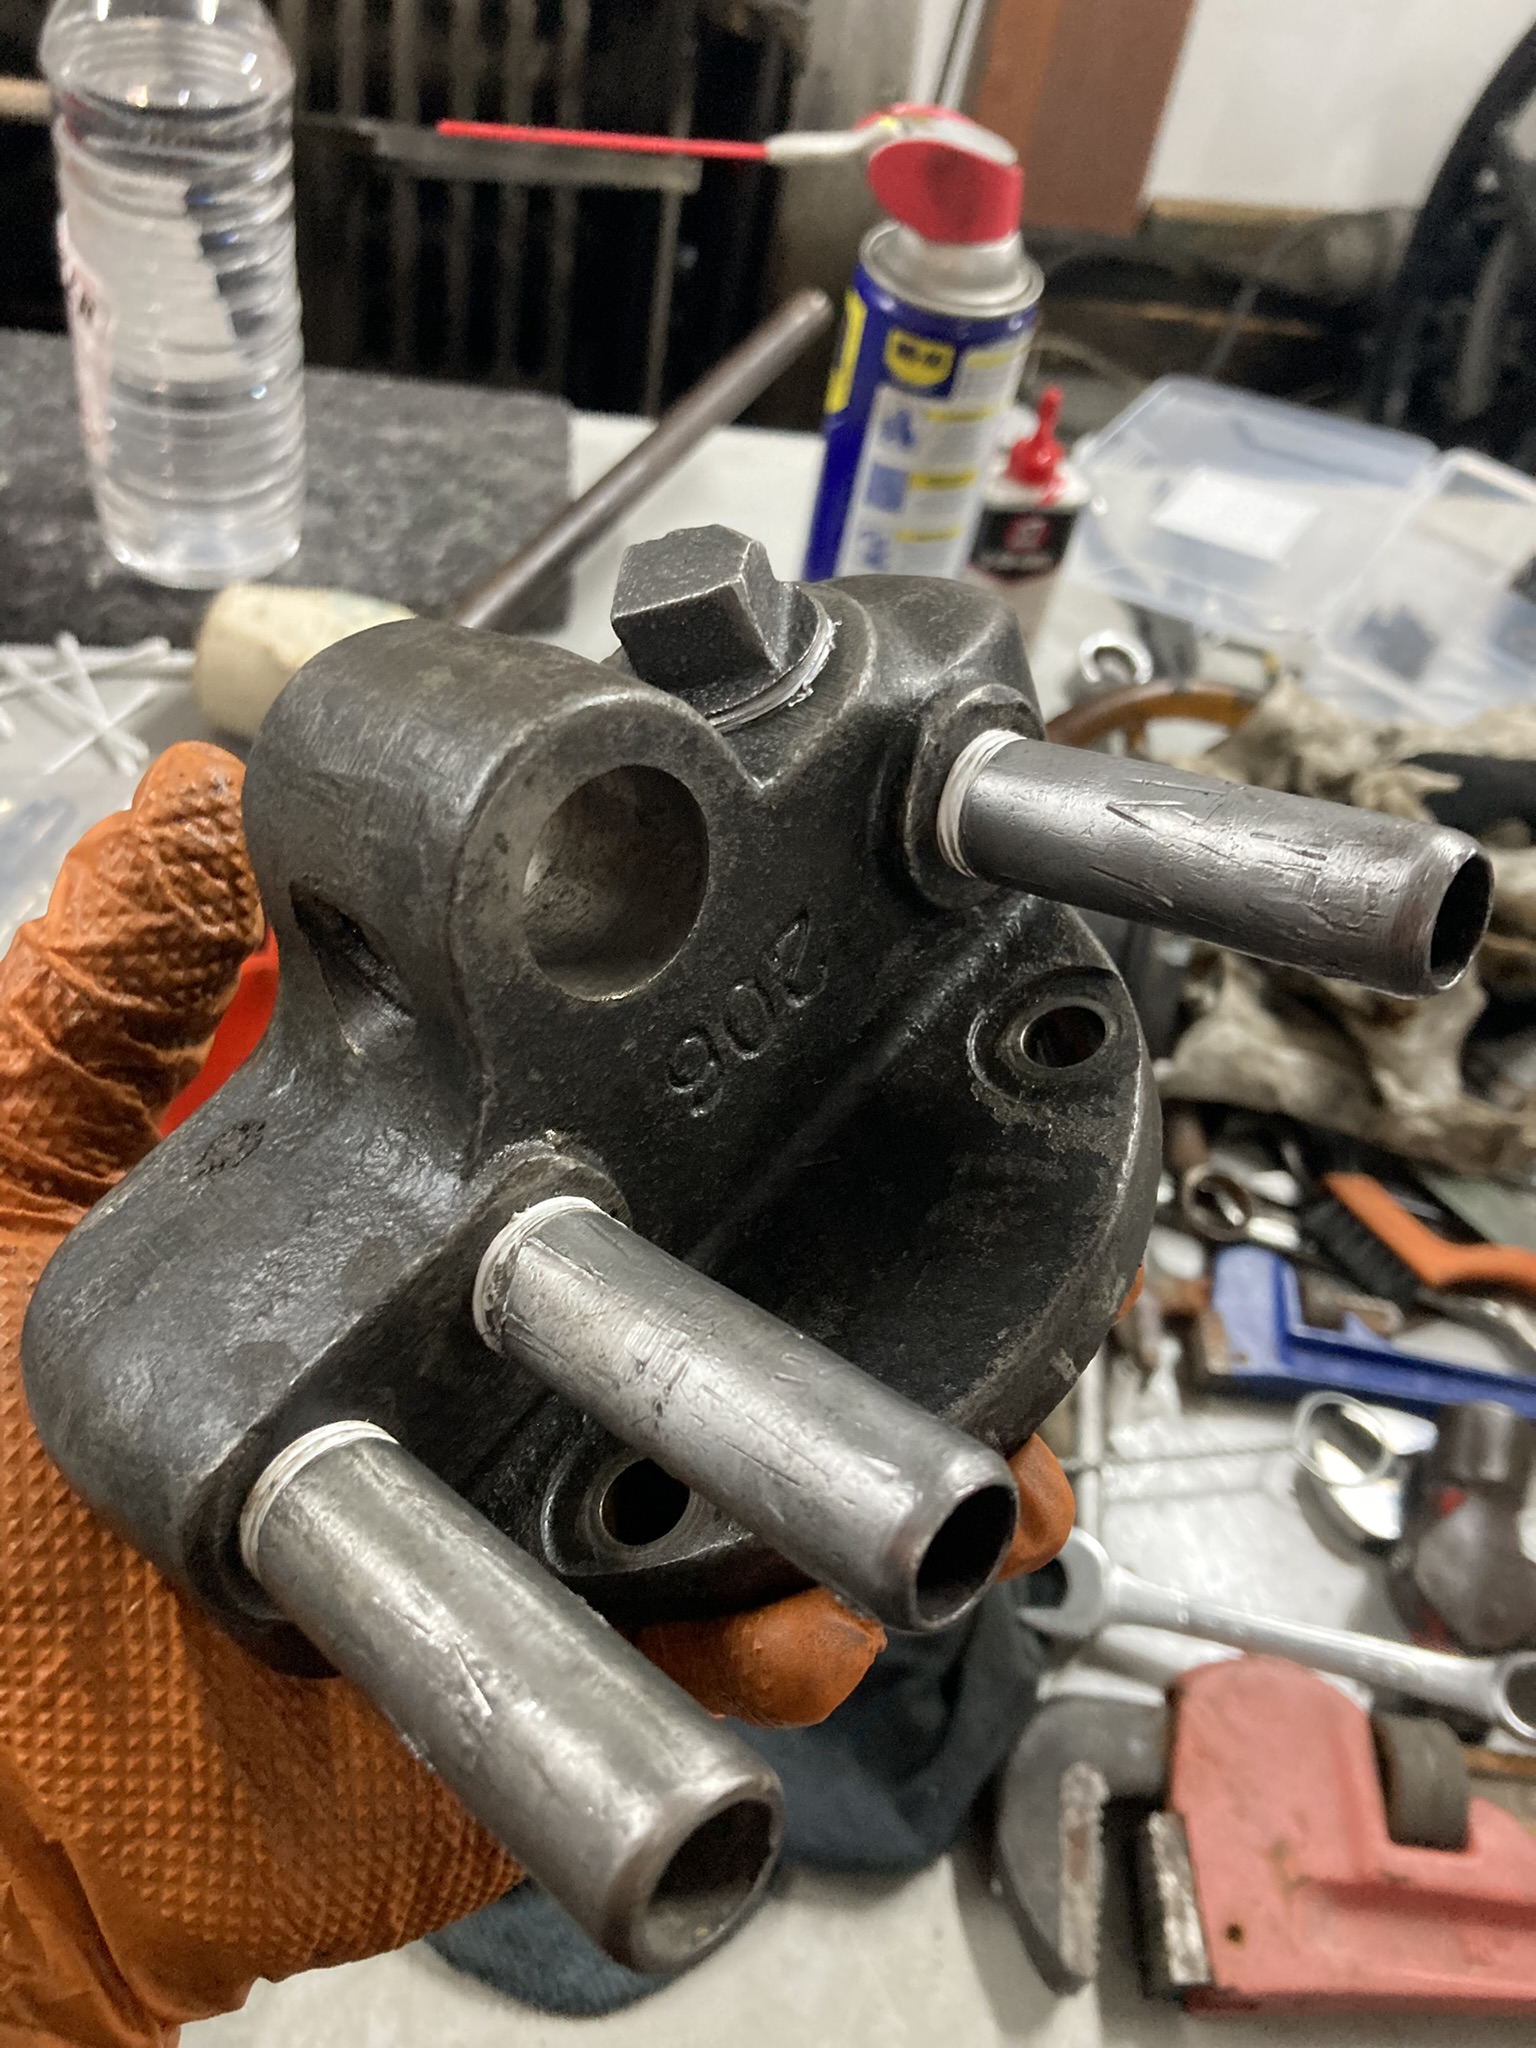
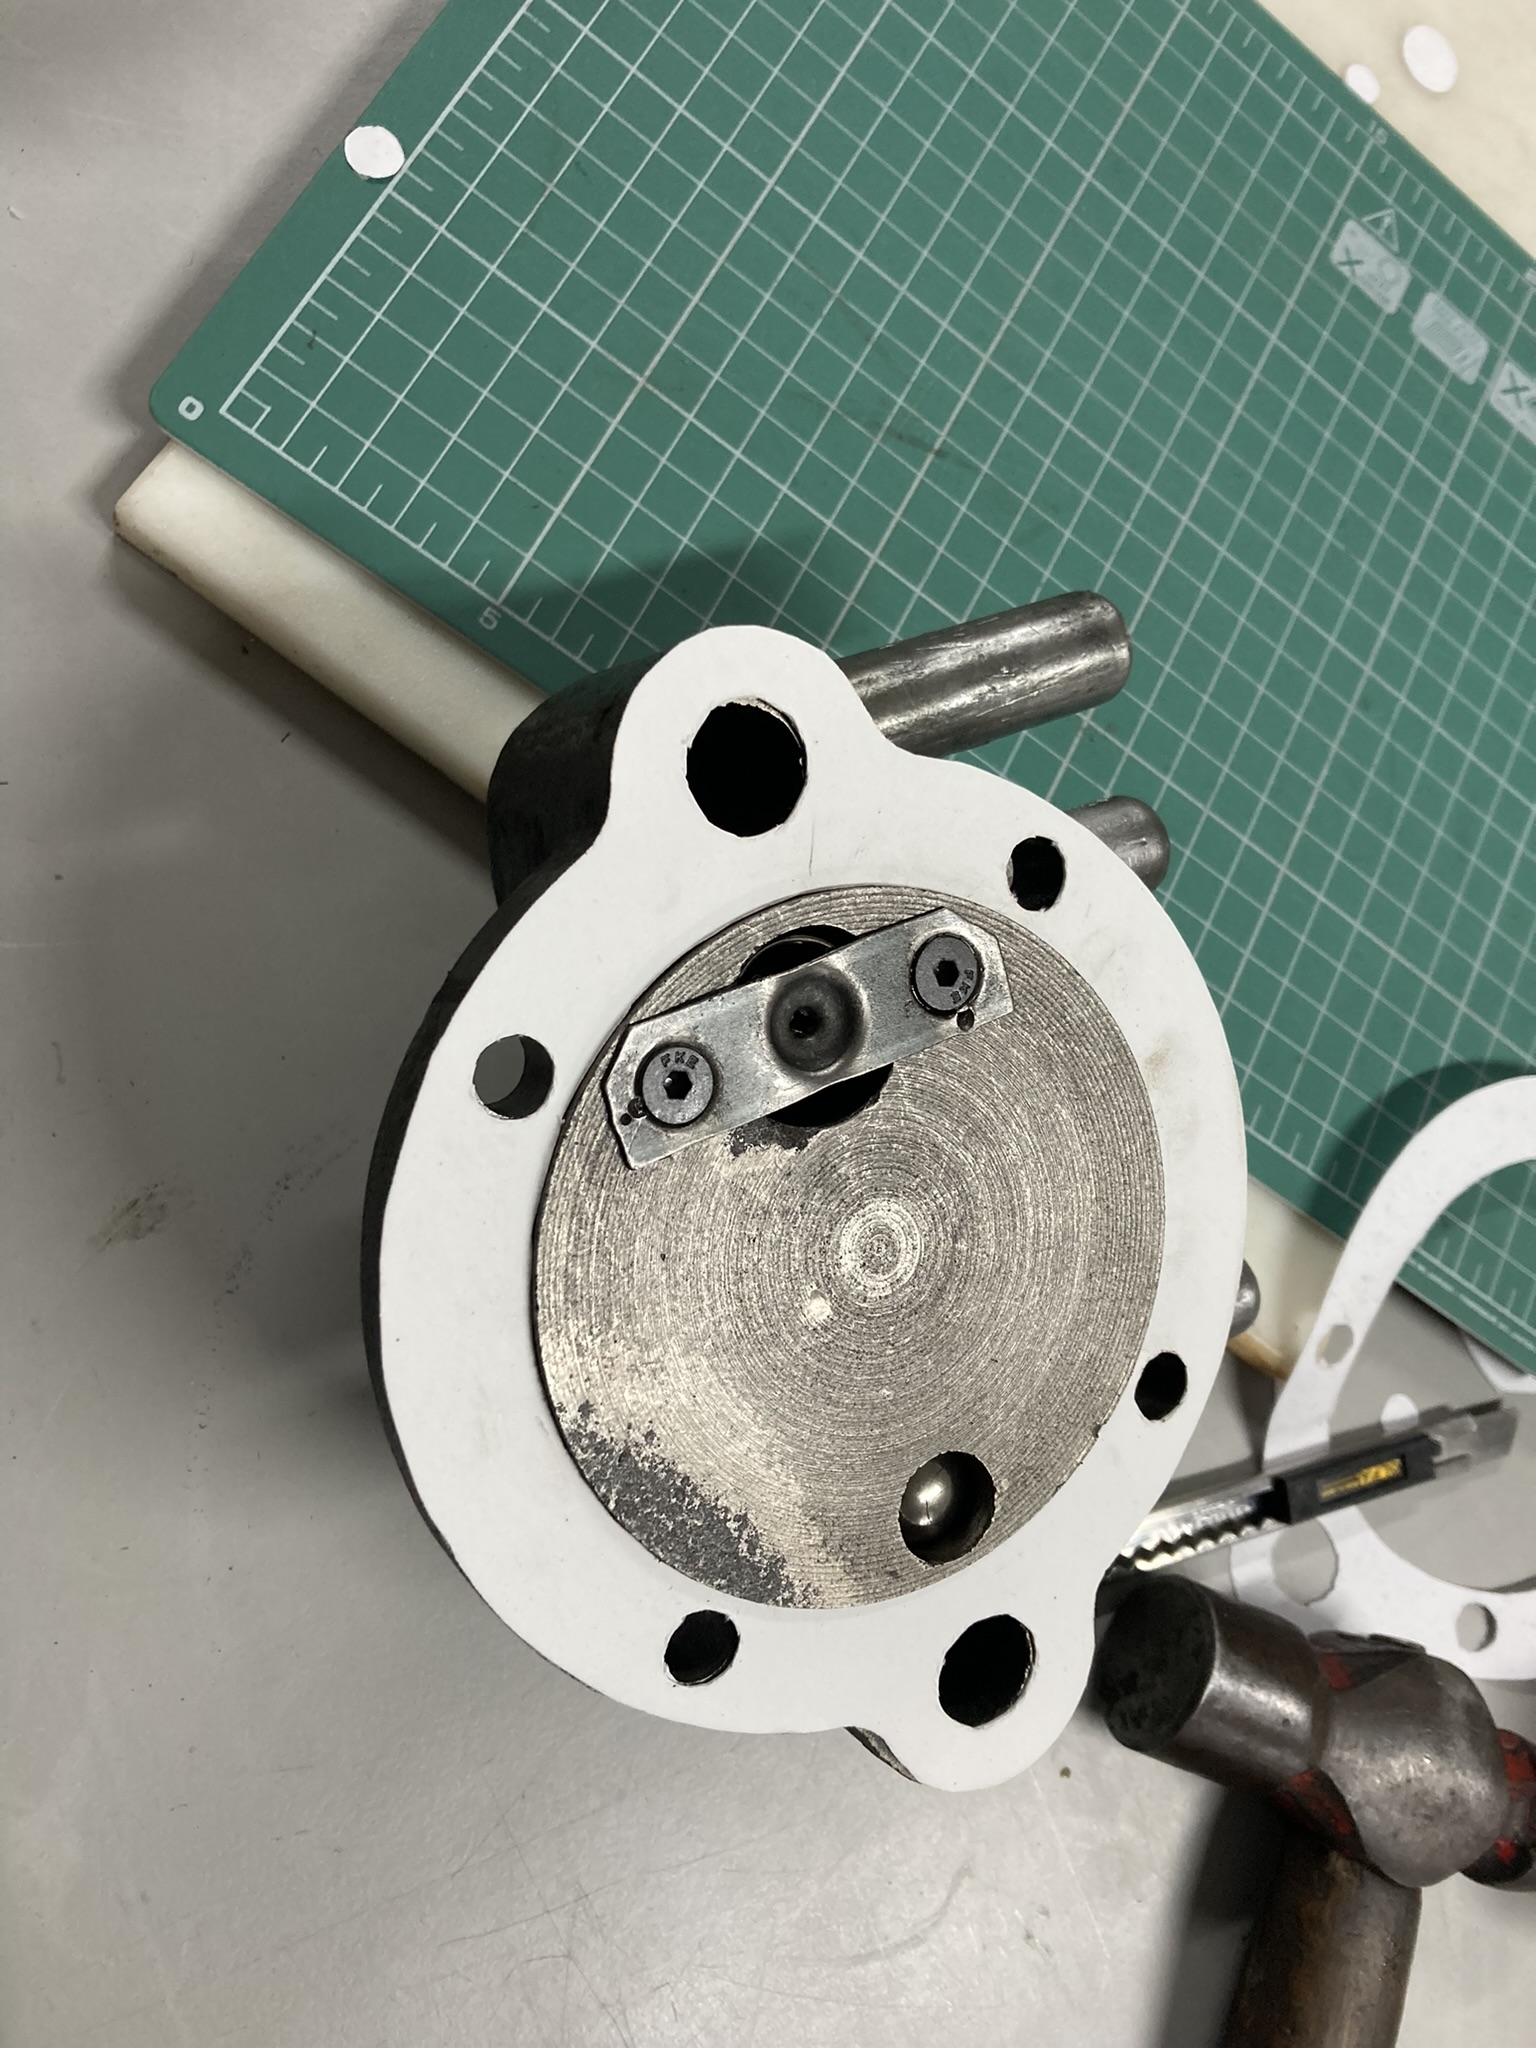
The base of the pump
The next thing to disengage the pump is to unscrew the Pump cylinder base cap screw (206-A)
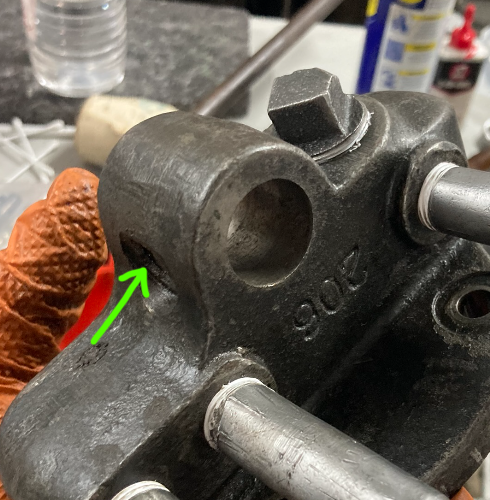
The hard part about that screw (in my case was an Allen head set screw with a nut to act as a counter screw, but on other presses and pumps the screw will be a square head with the nut). It’s on the opposite side if you’re viewing the press from the front, and it’s very hard to reach.
Again more contortionism on my part got the job done.
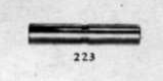
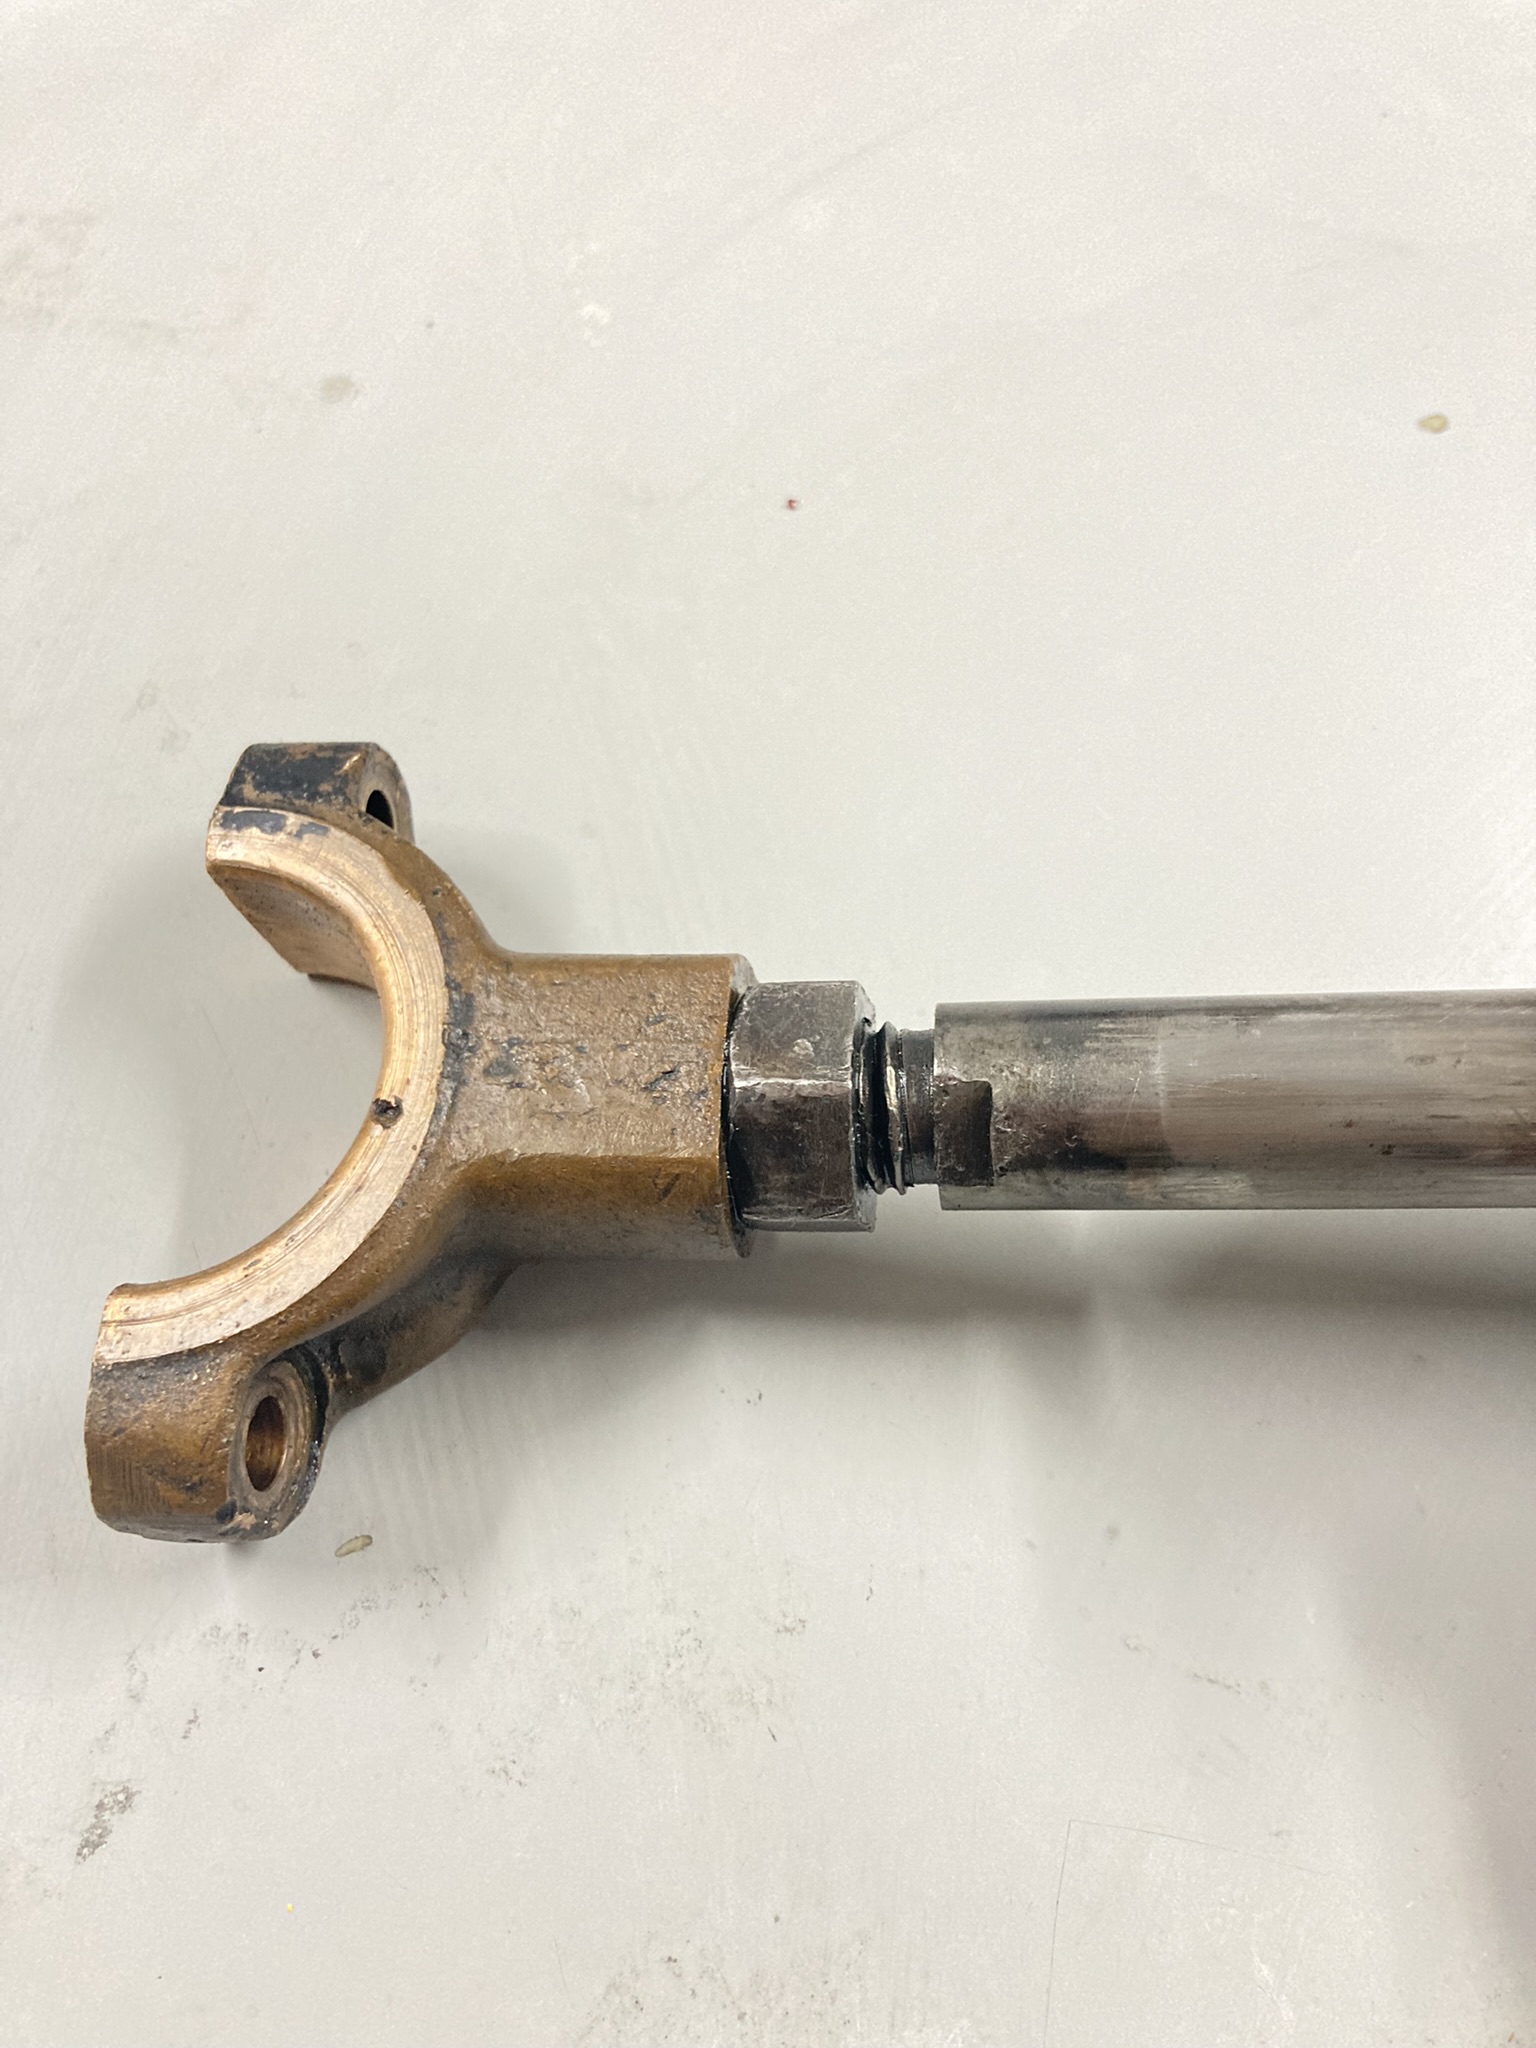
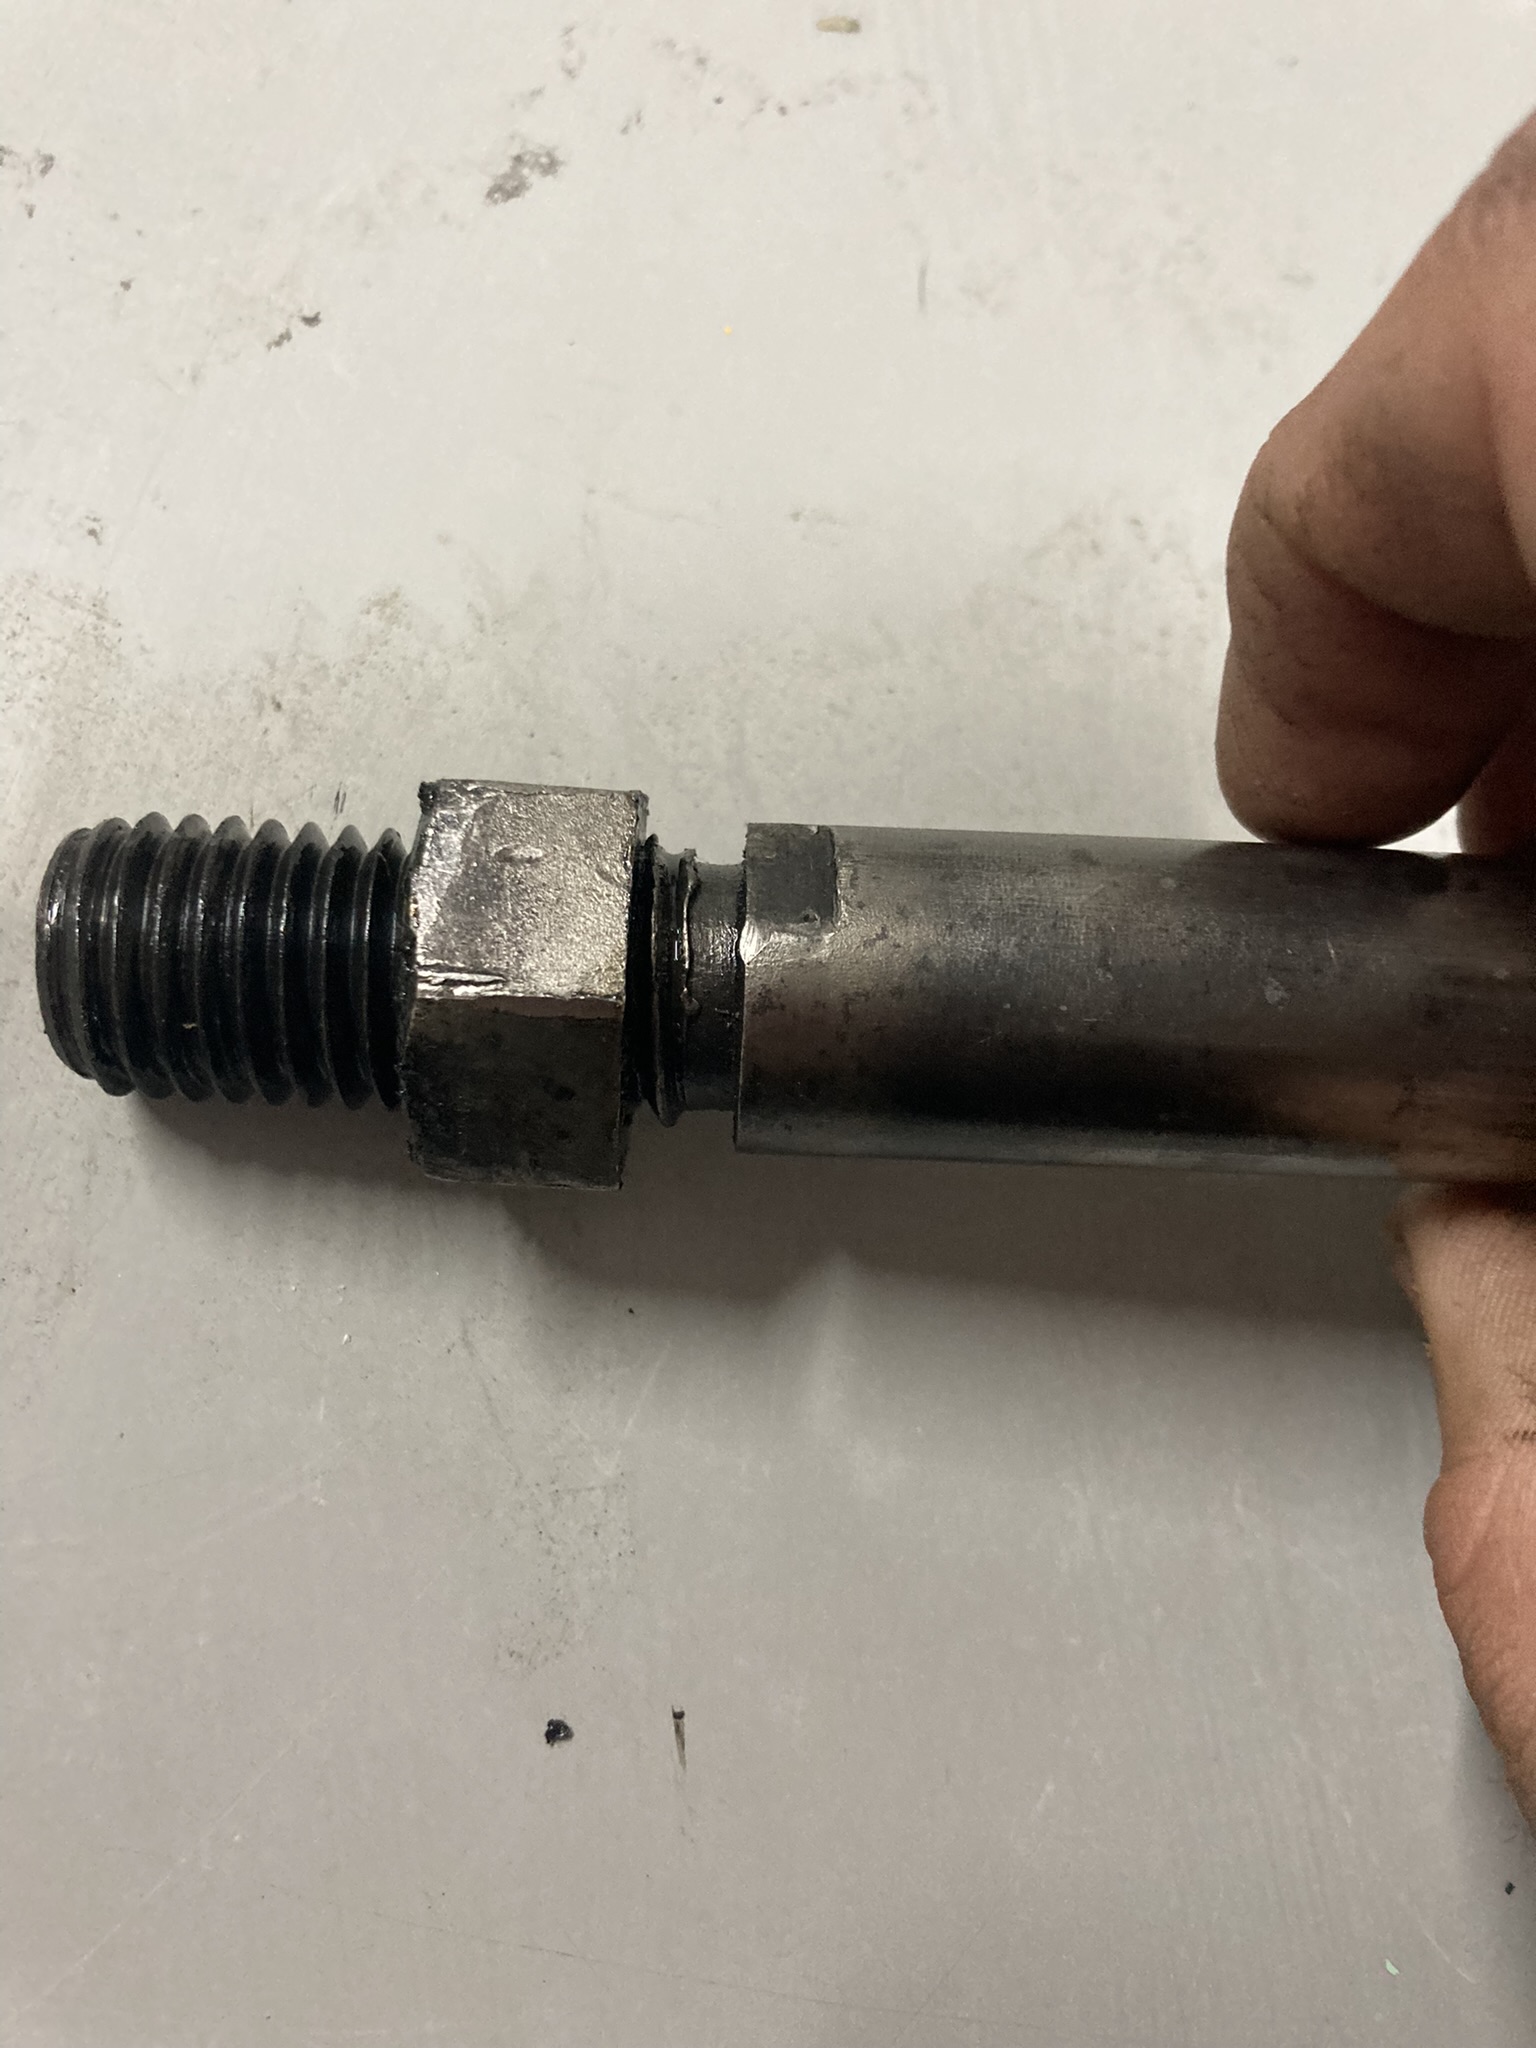
Next was to push out the Pump rocker pin (223).
Once that was out, I was able to pull the pump from the center of the press between the bed and the platen. It’s mighty heavy, so be careful here.
Cleaning up
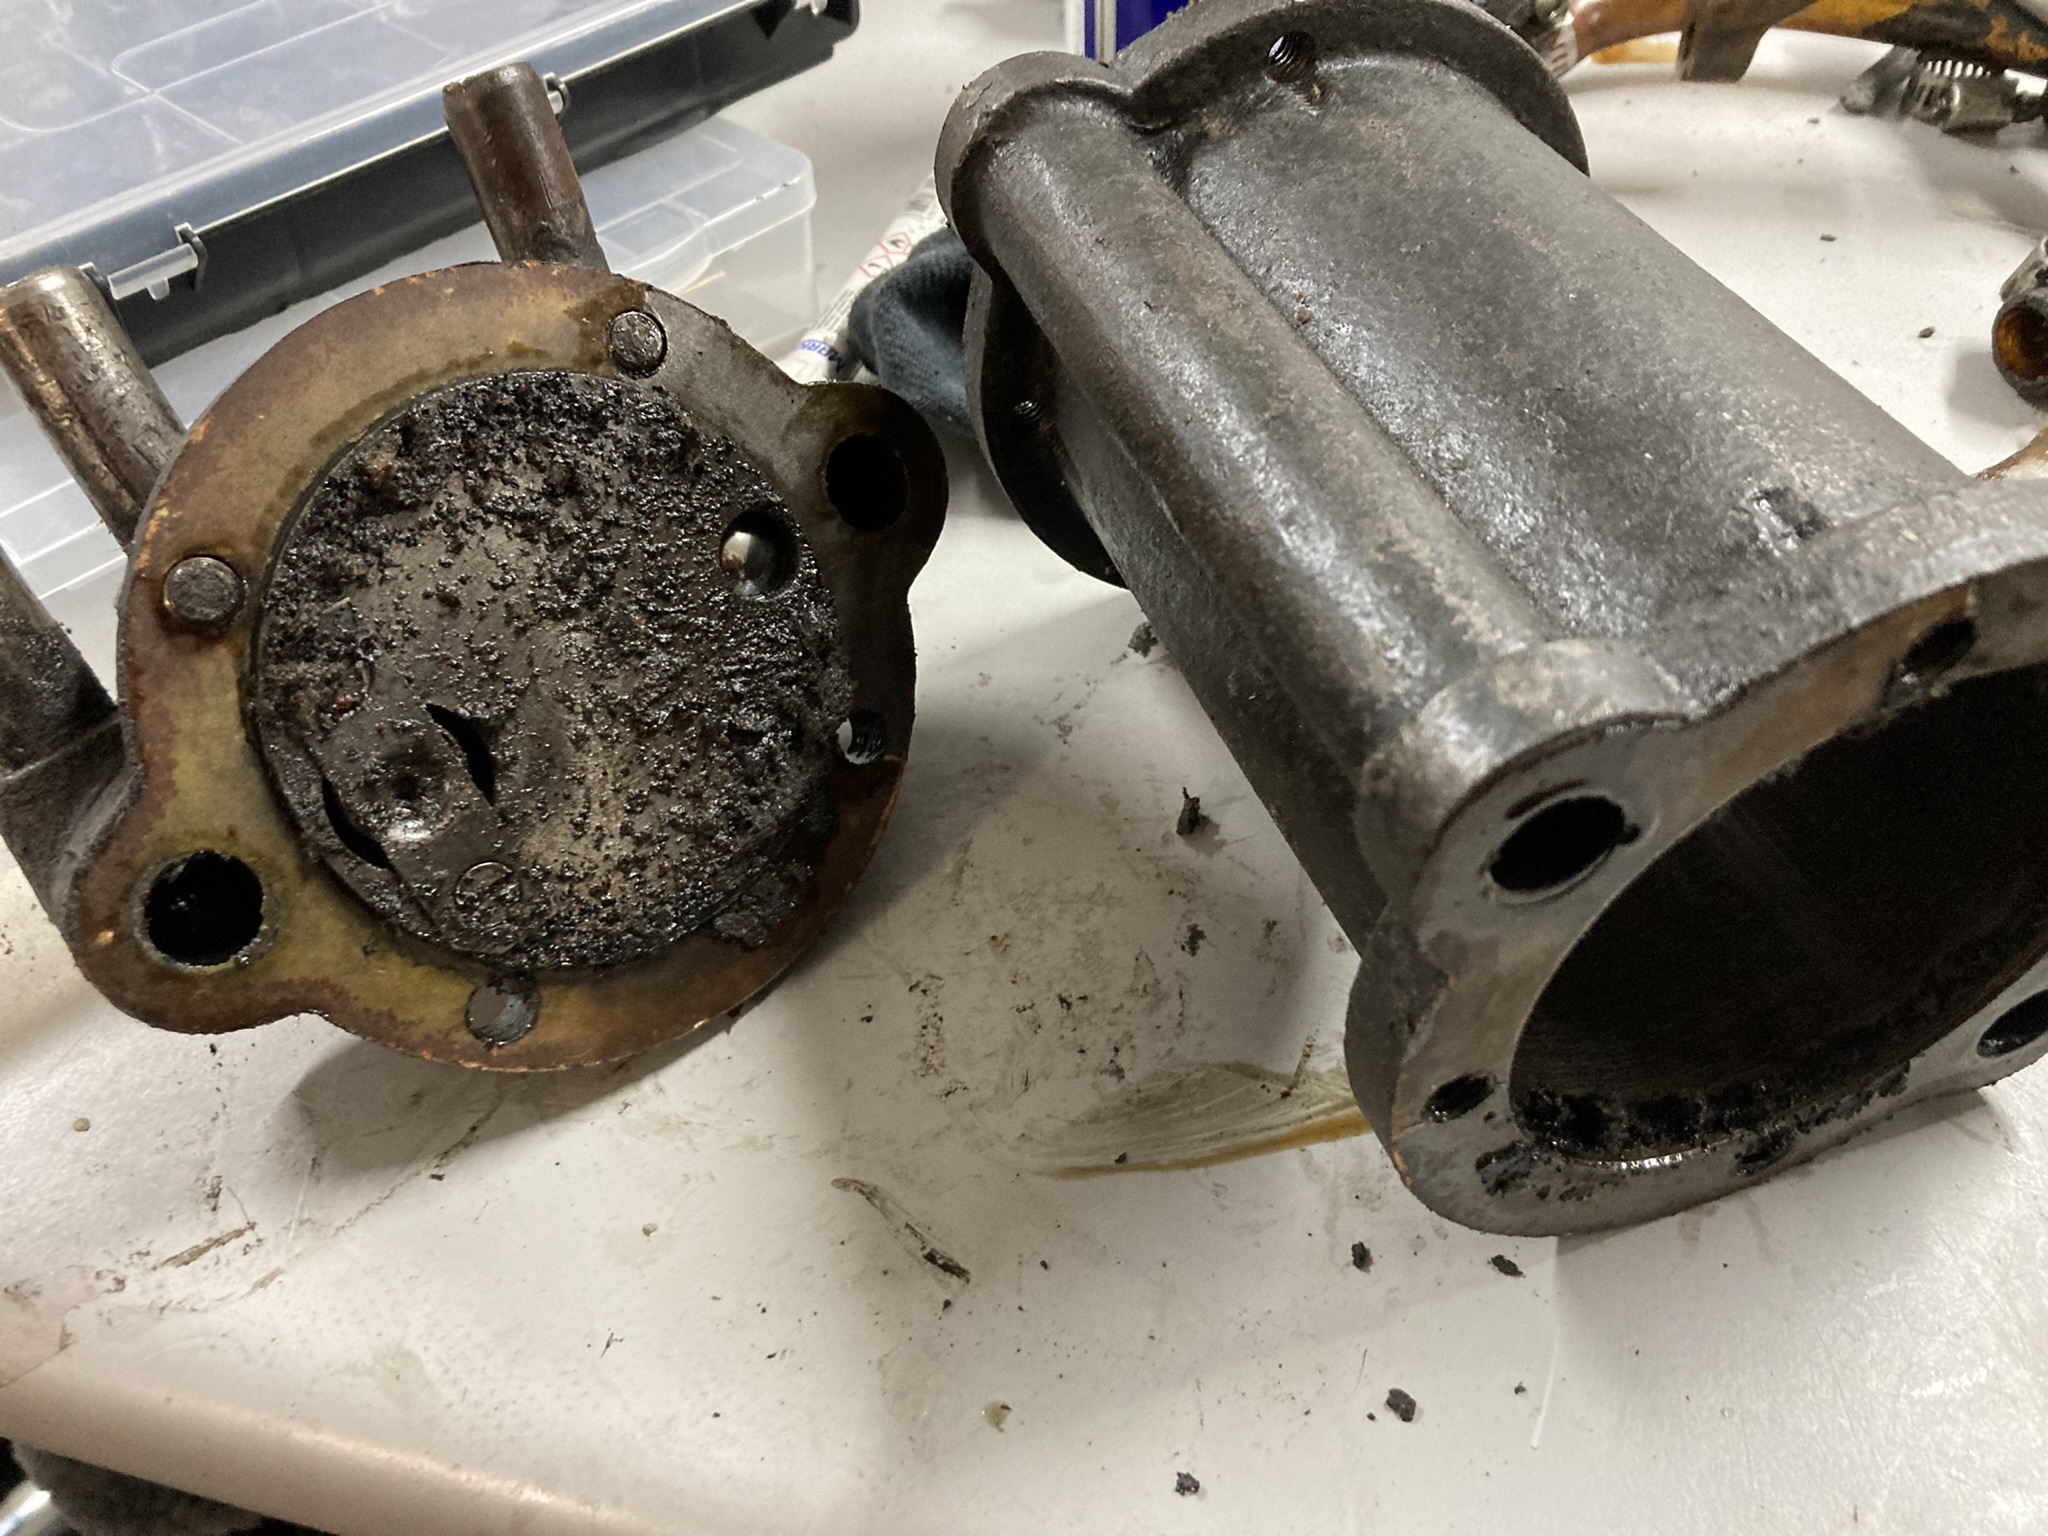
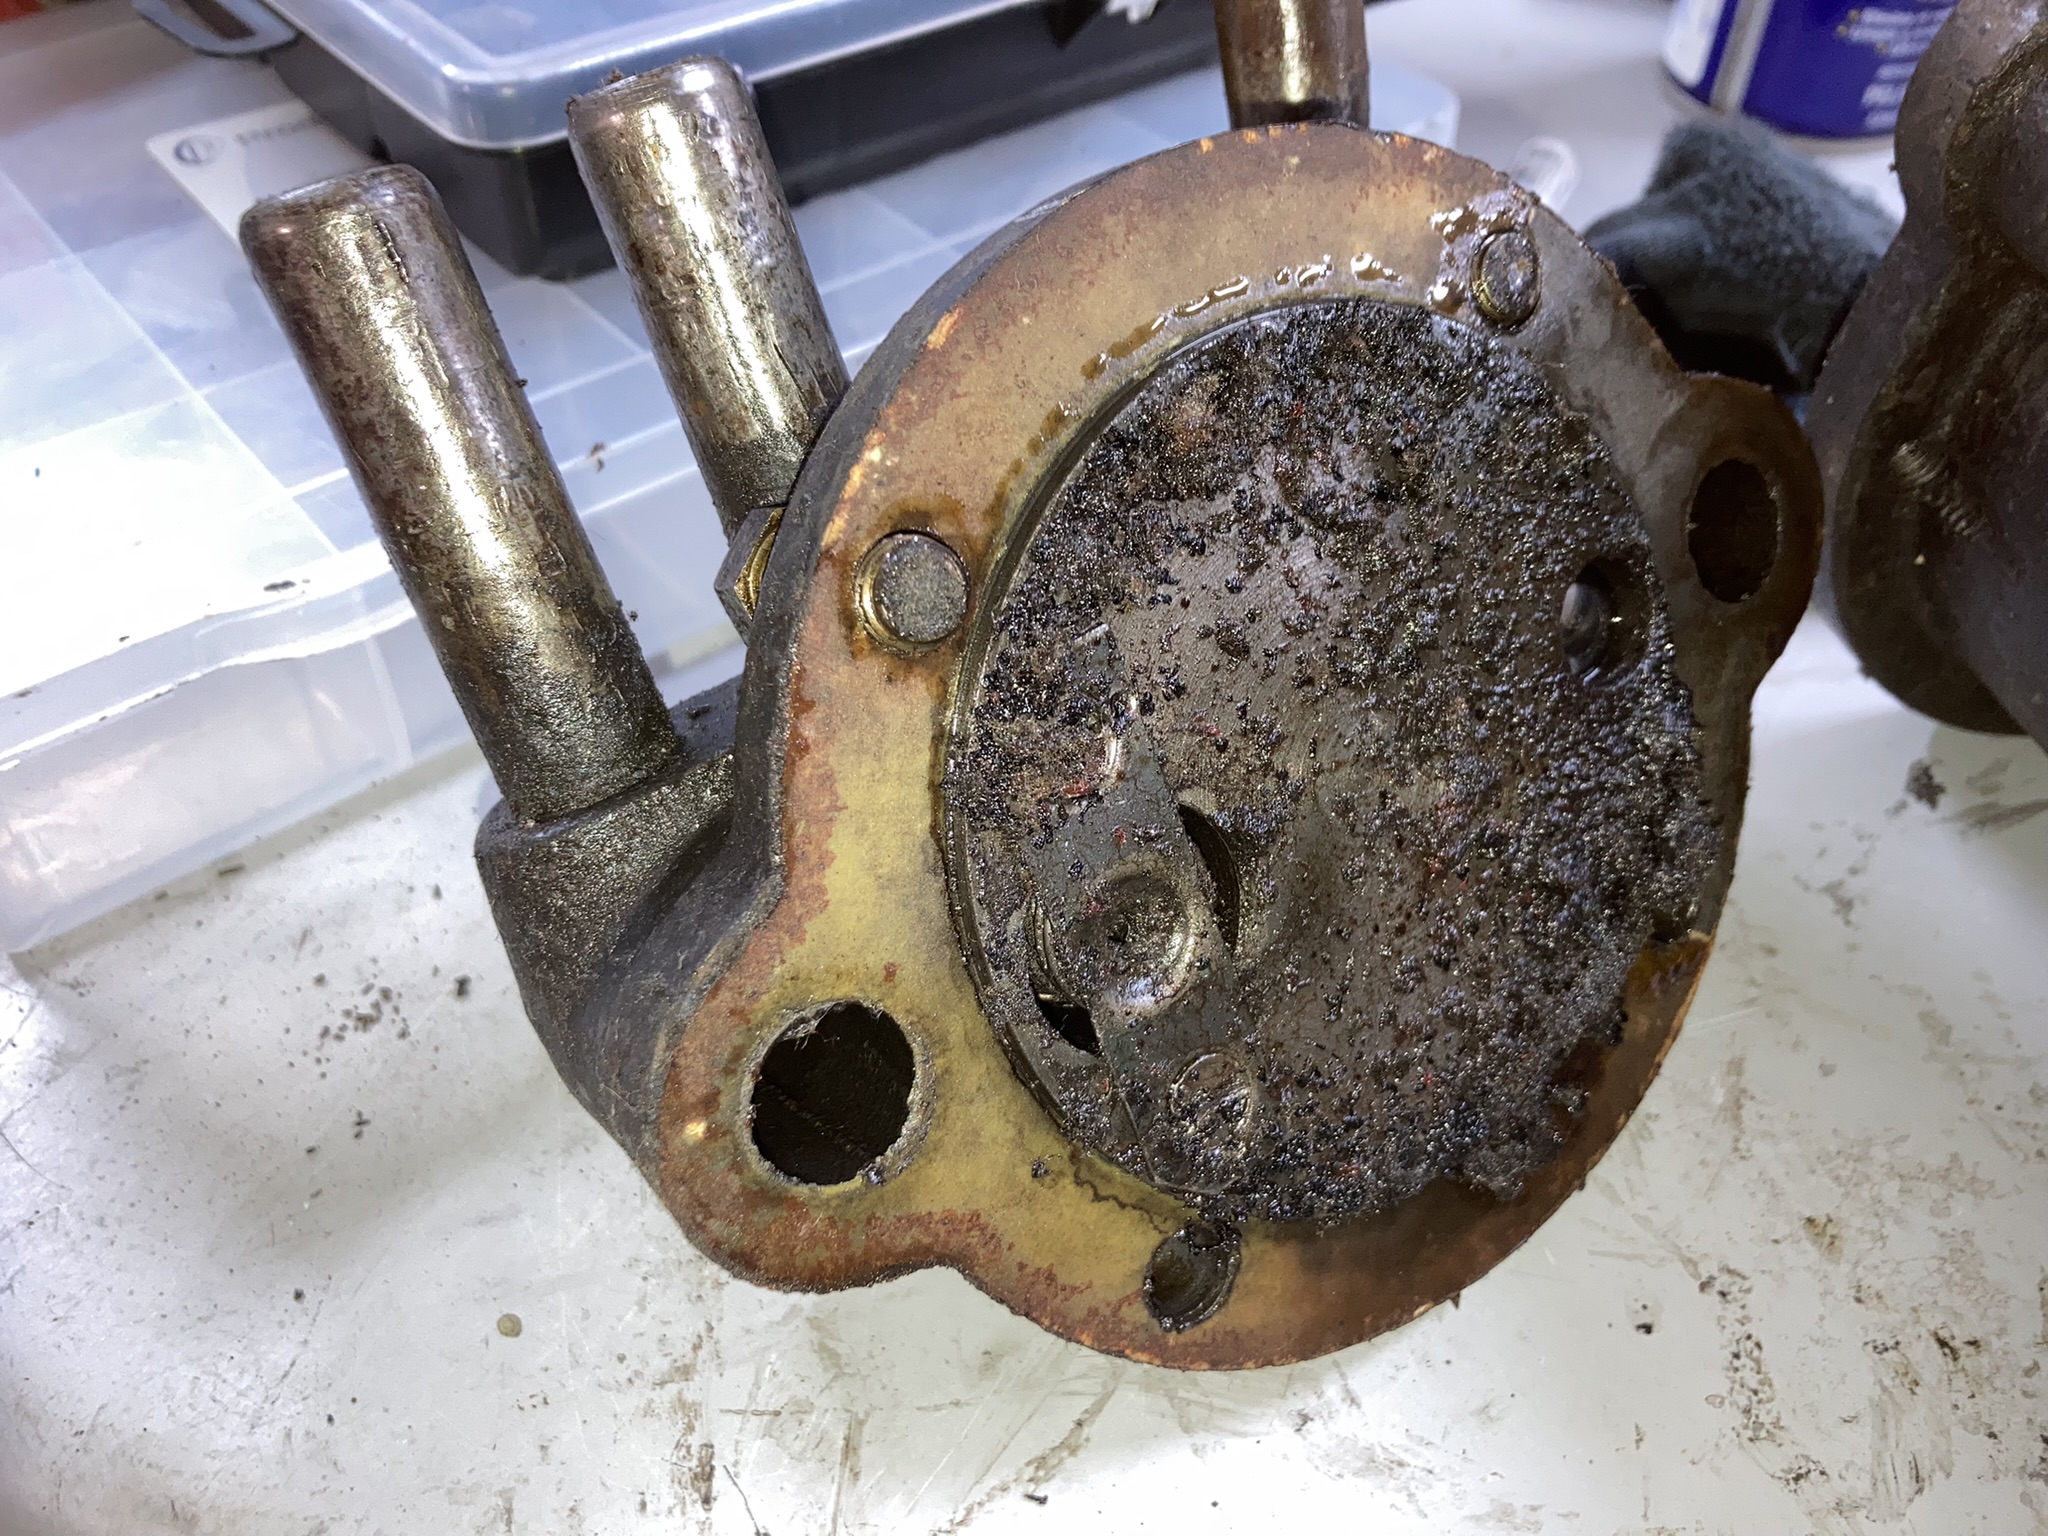
Now I had to disassemble the pump by unscrewing the bolts on the top and bottom covers. The pump was slightly grimy in the cylinder bottom, but no rust or damage like other pumps I’ve opened. So that gave me hope.

Here’s a photo of a cylinder that was very pitted and I deemed too far gone.
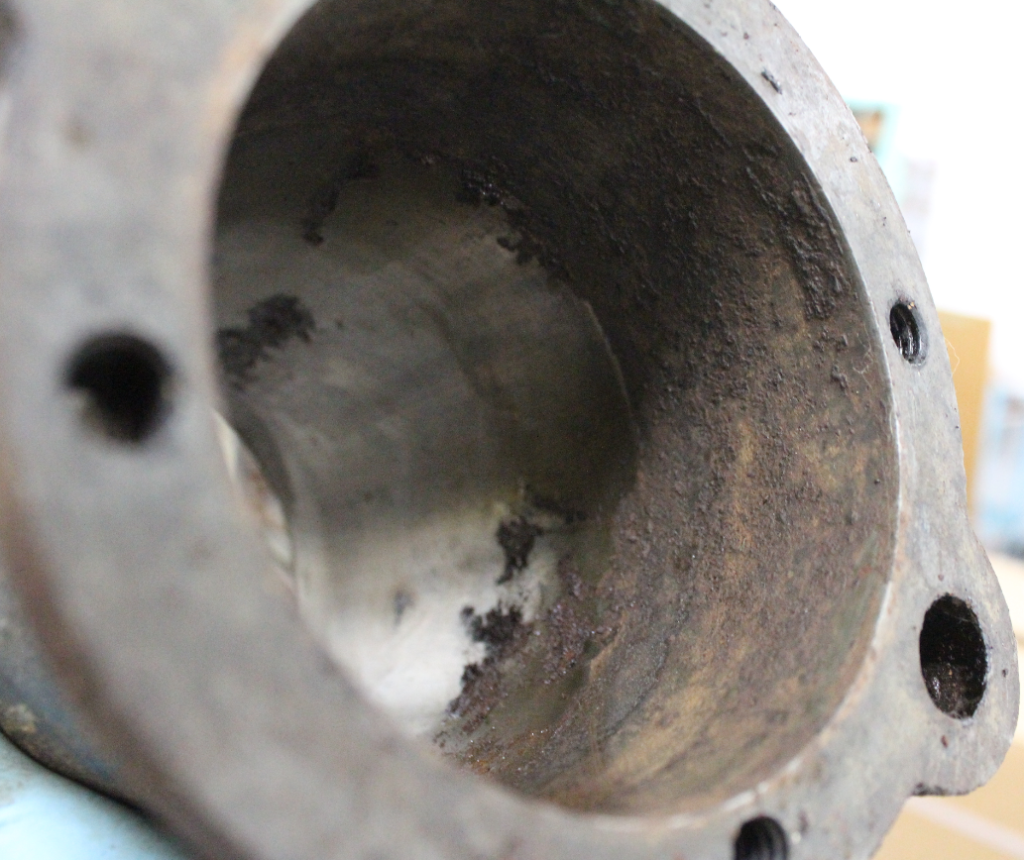
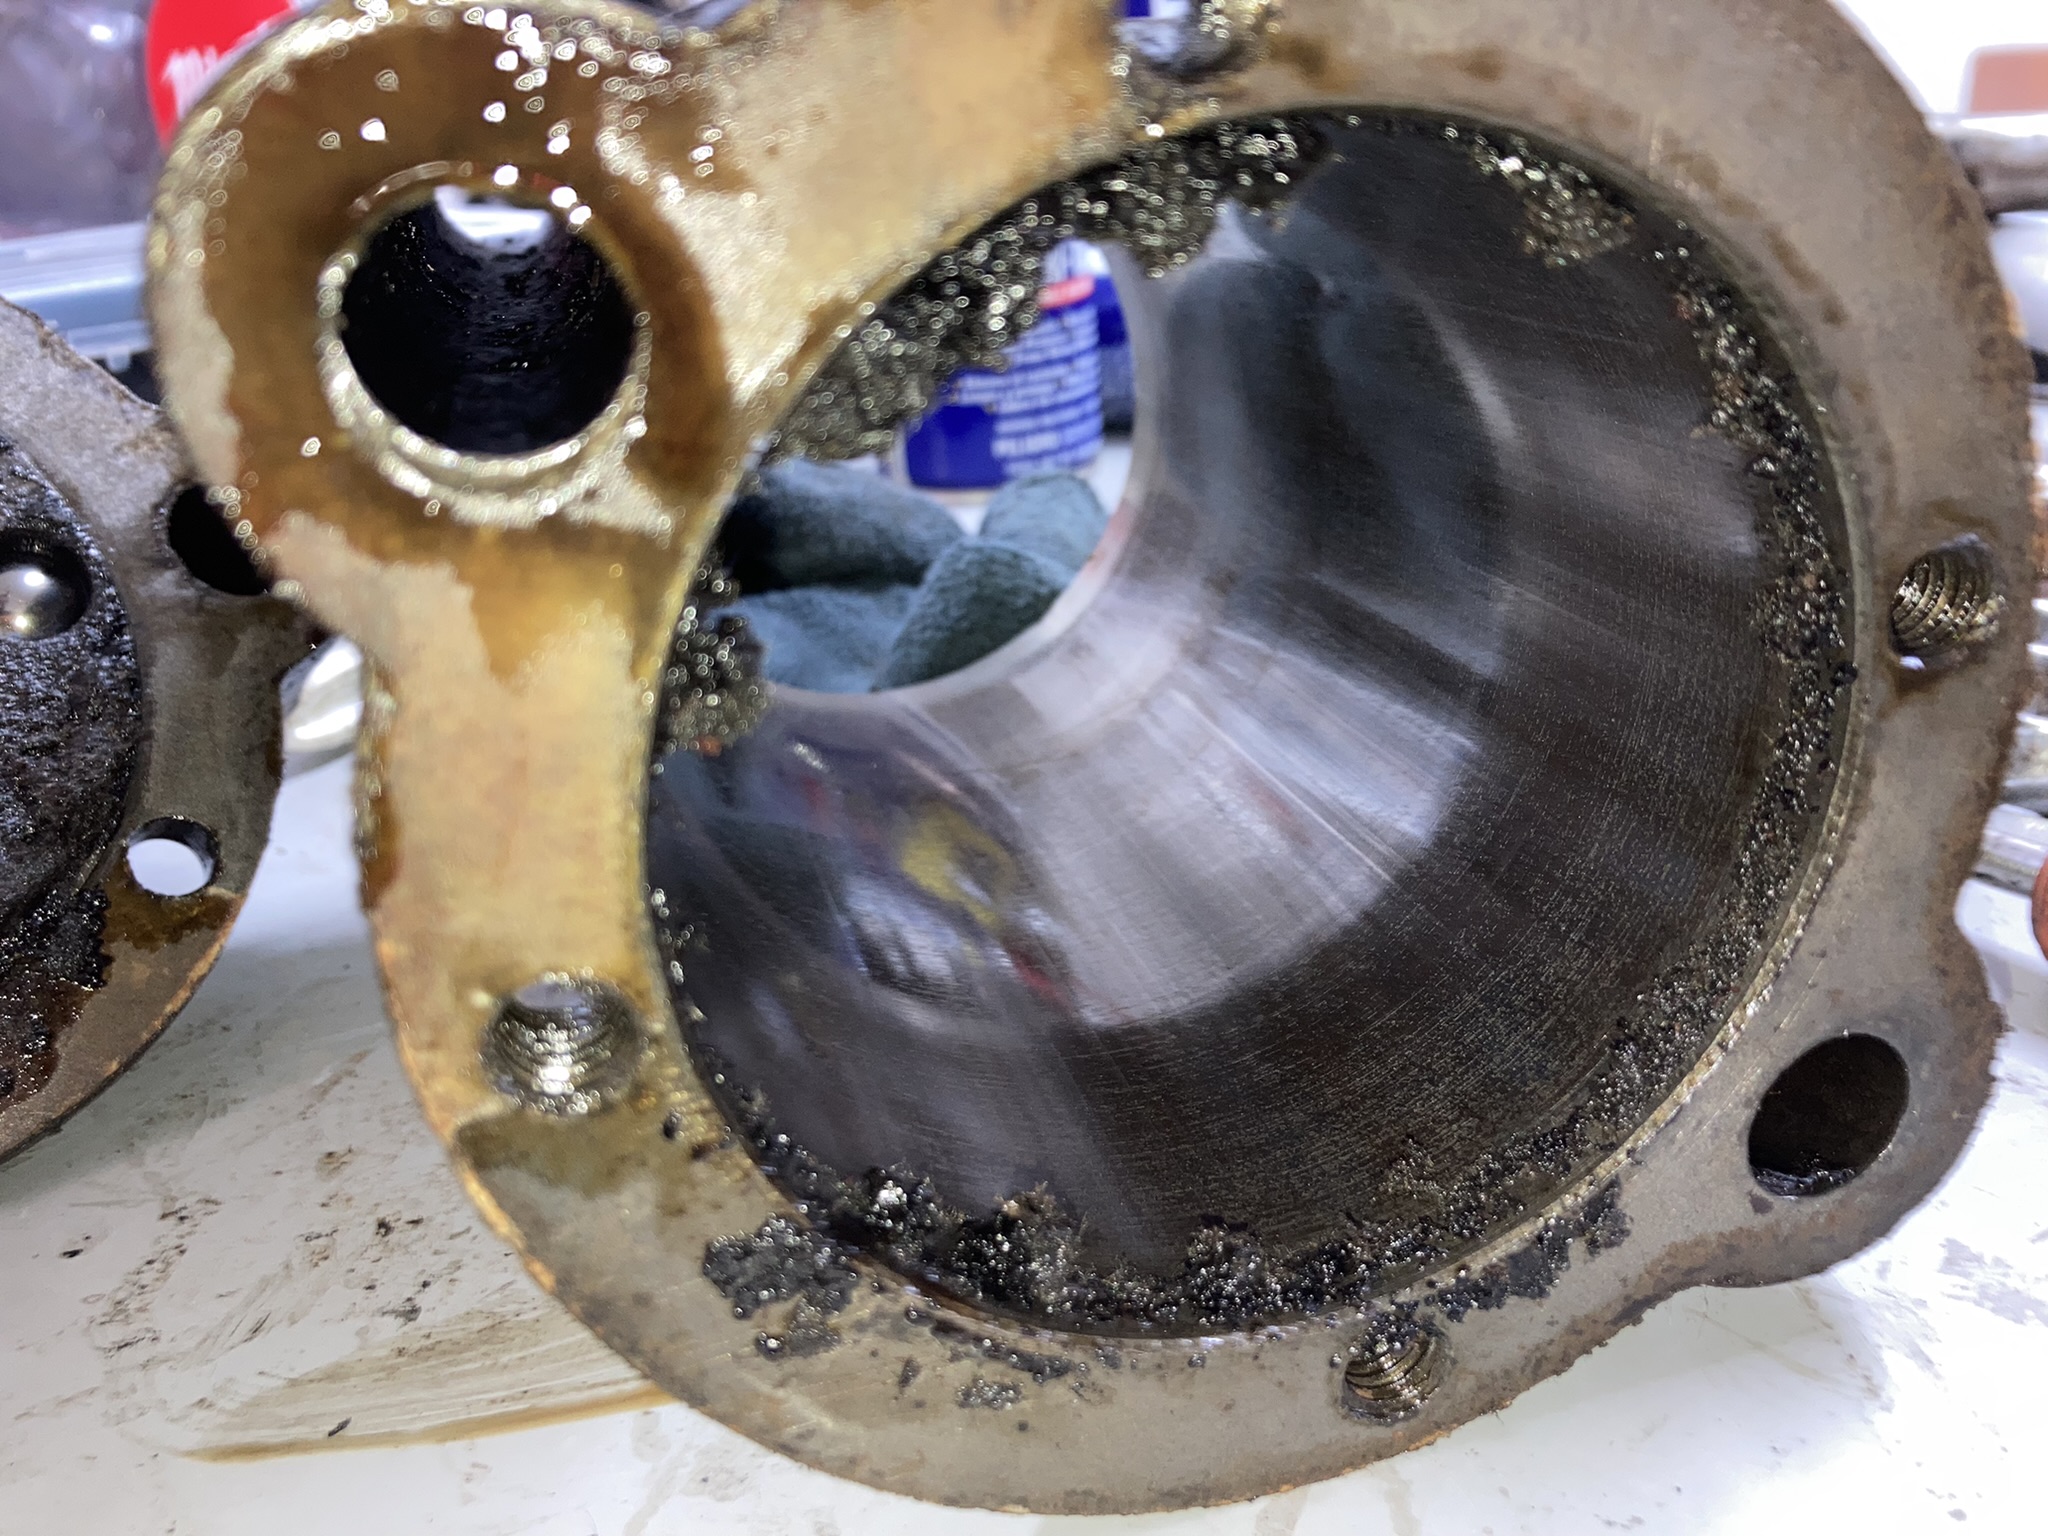
Anyways, back to the good pump. I cleaned up every air hole as best as I could and also took the opportunity to replace the old flat head screws that retain the check valve balls in place with some Allen head screws.
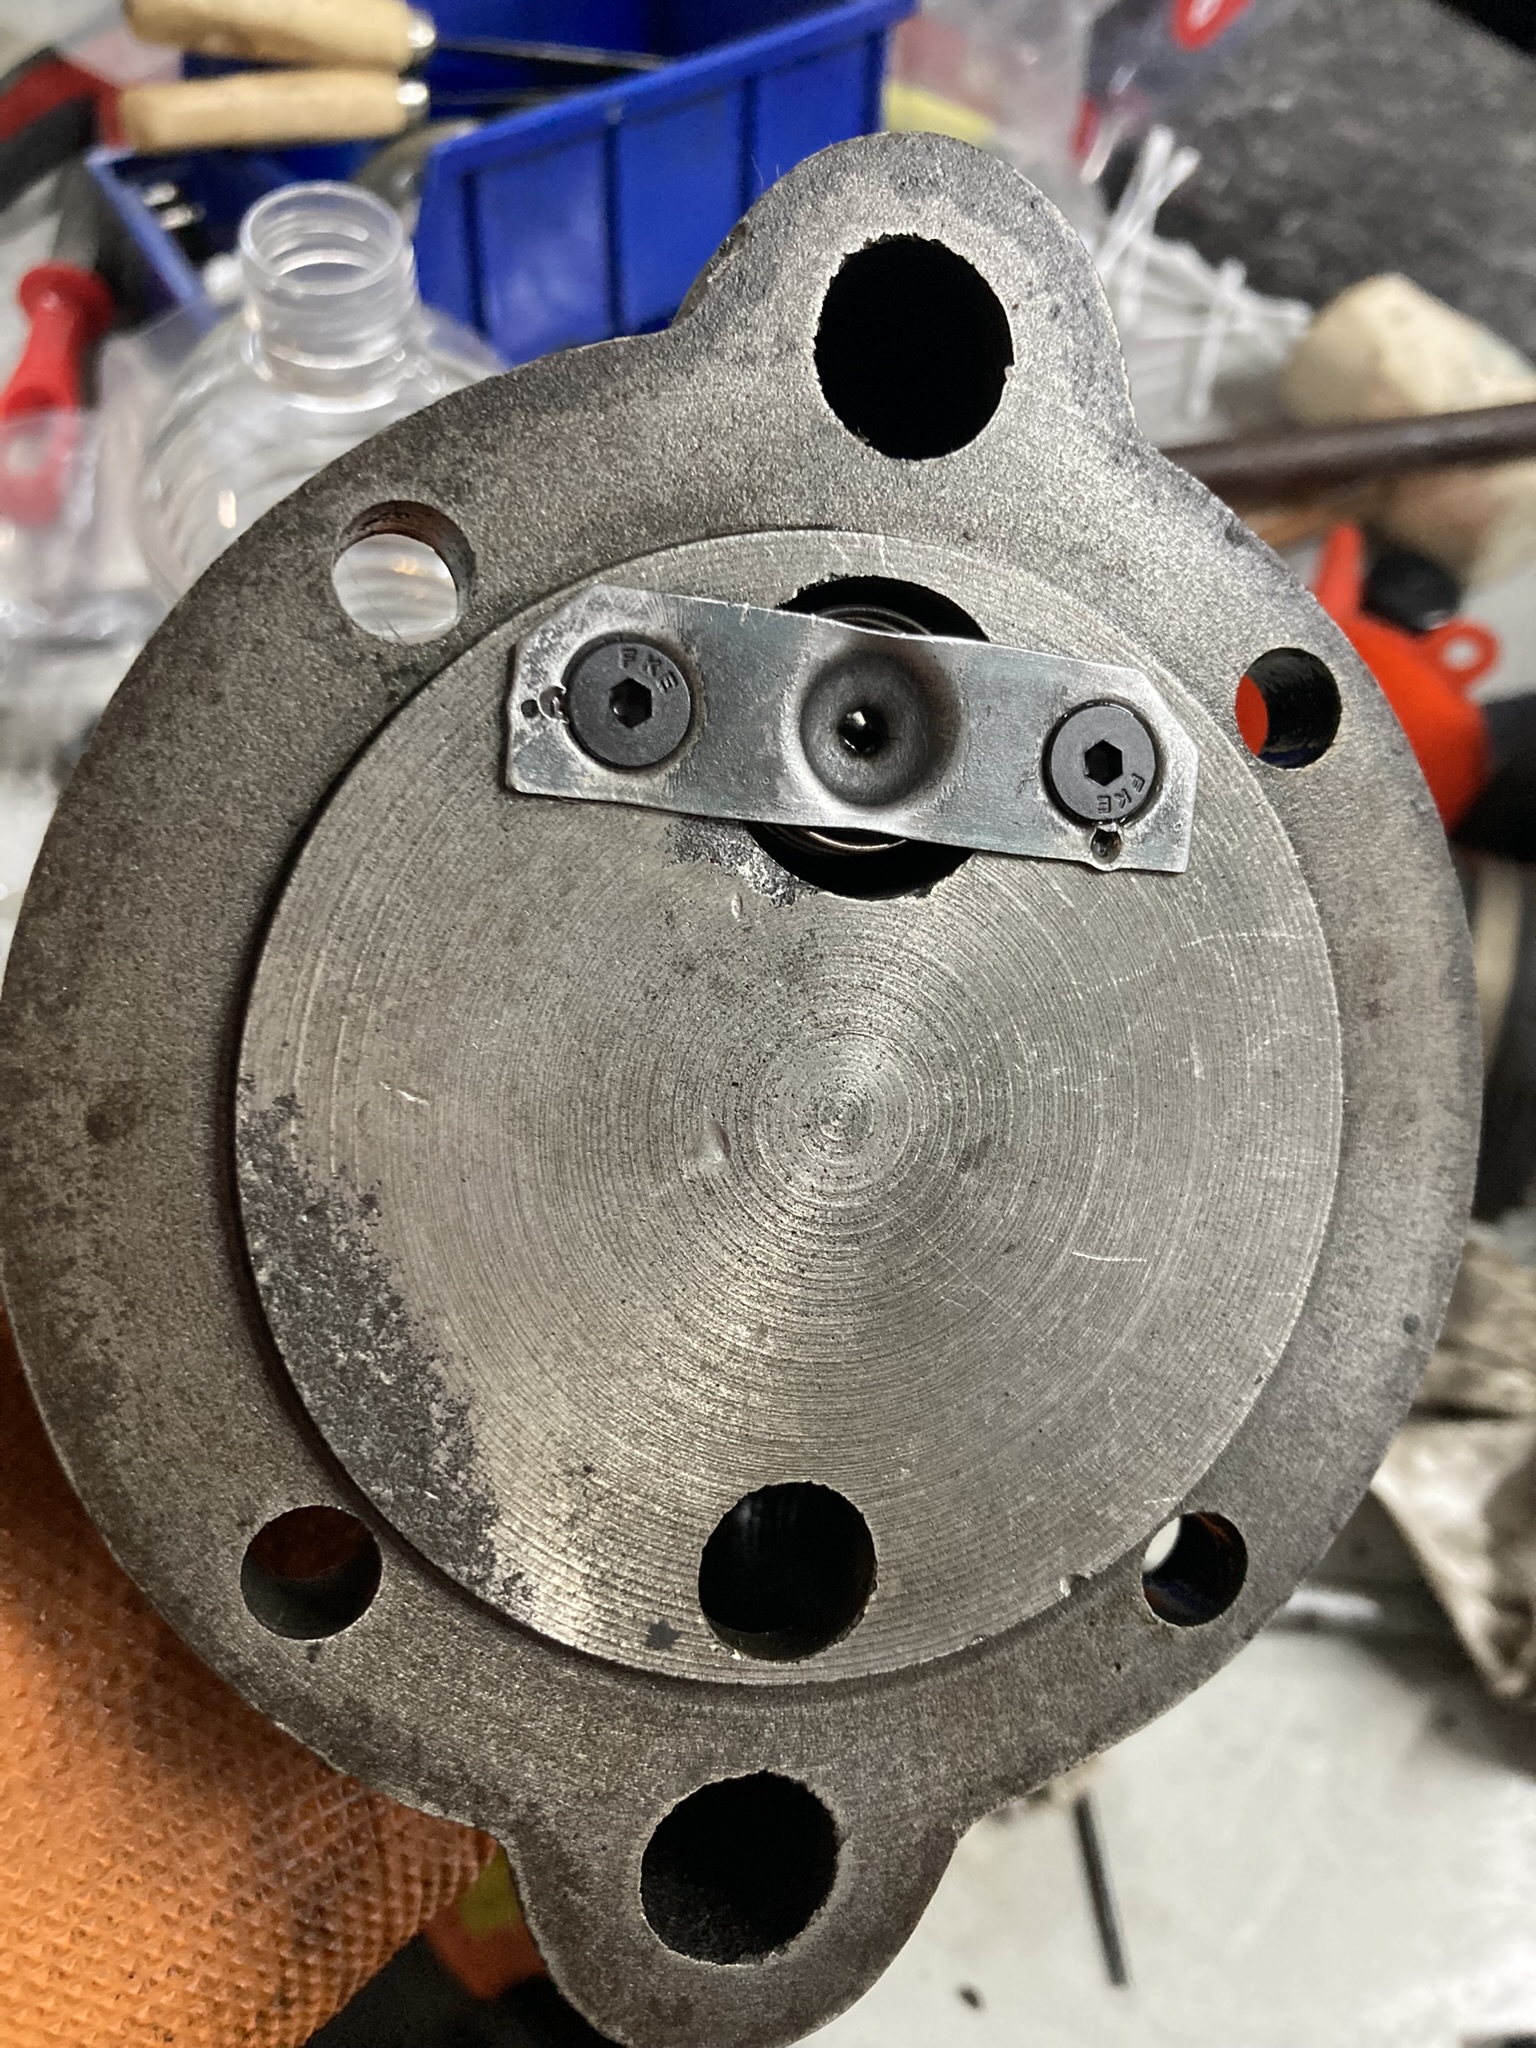
This is a nice way to future-proof the repairability of the pump since those flat head screws are a pain in the ass to take off and almost always are very damaged. It looks like at some point this pump had already been rebuilt, judging from the screws. They were very chewed up.
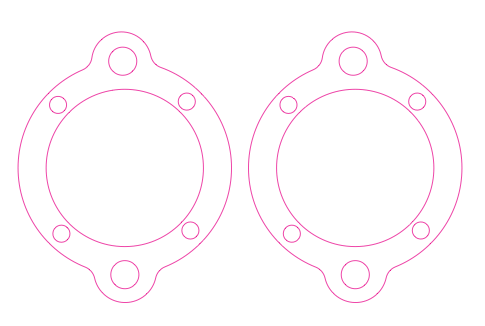
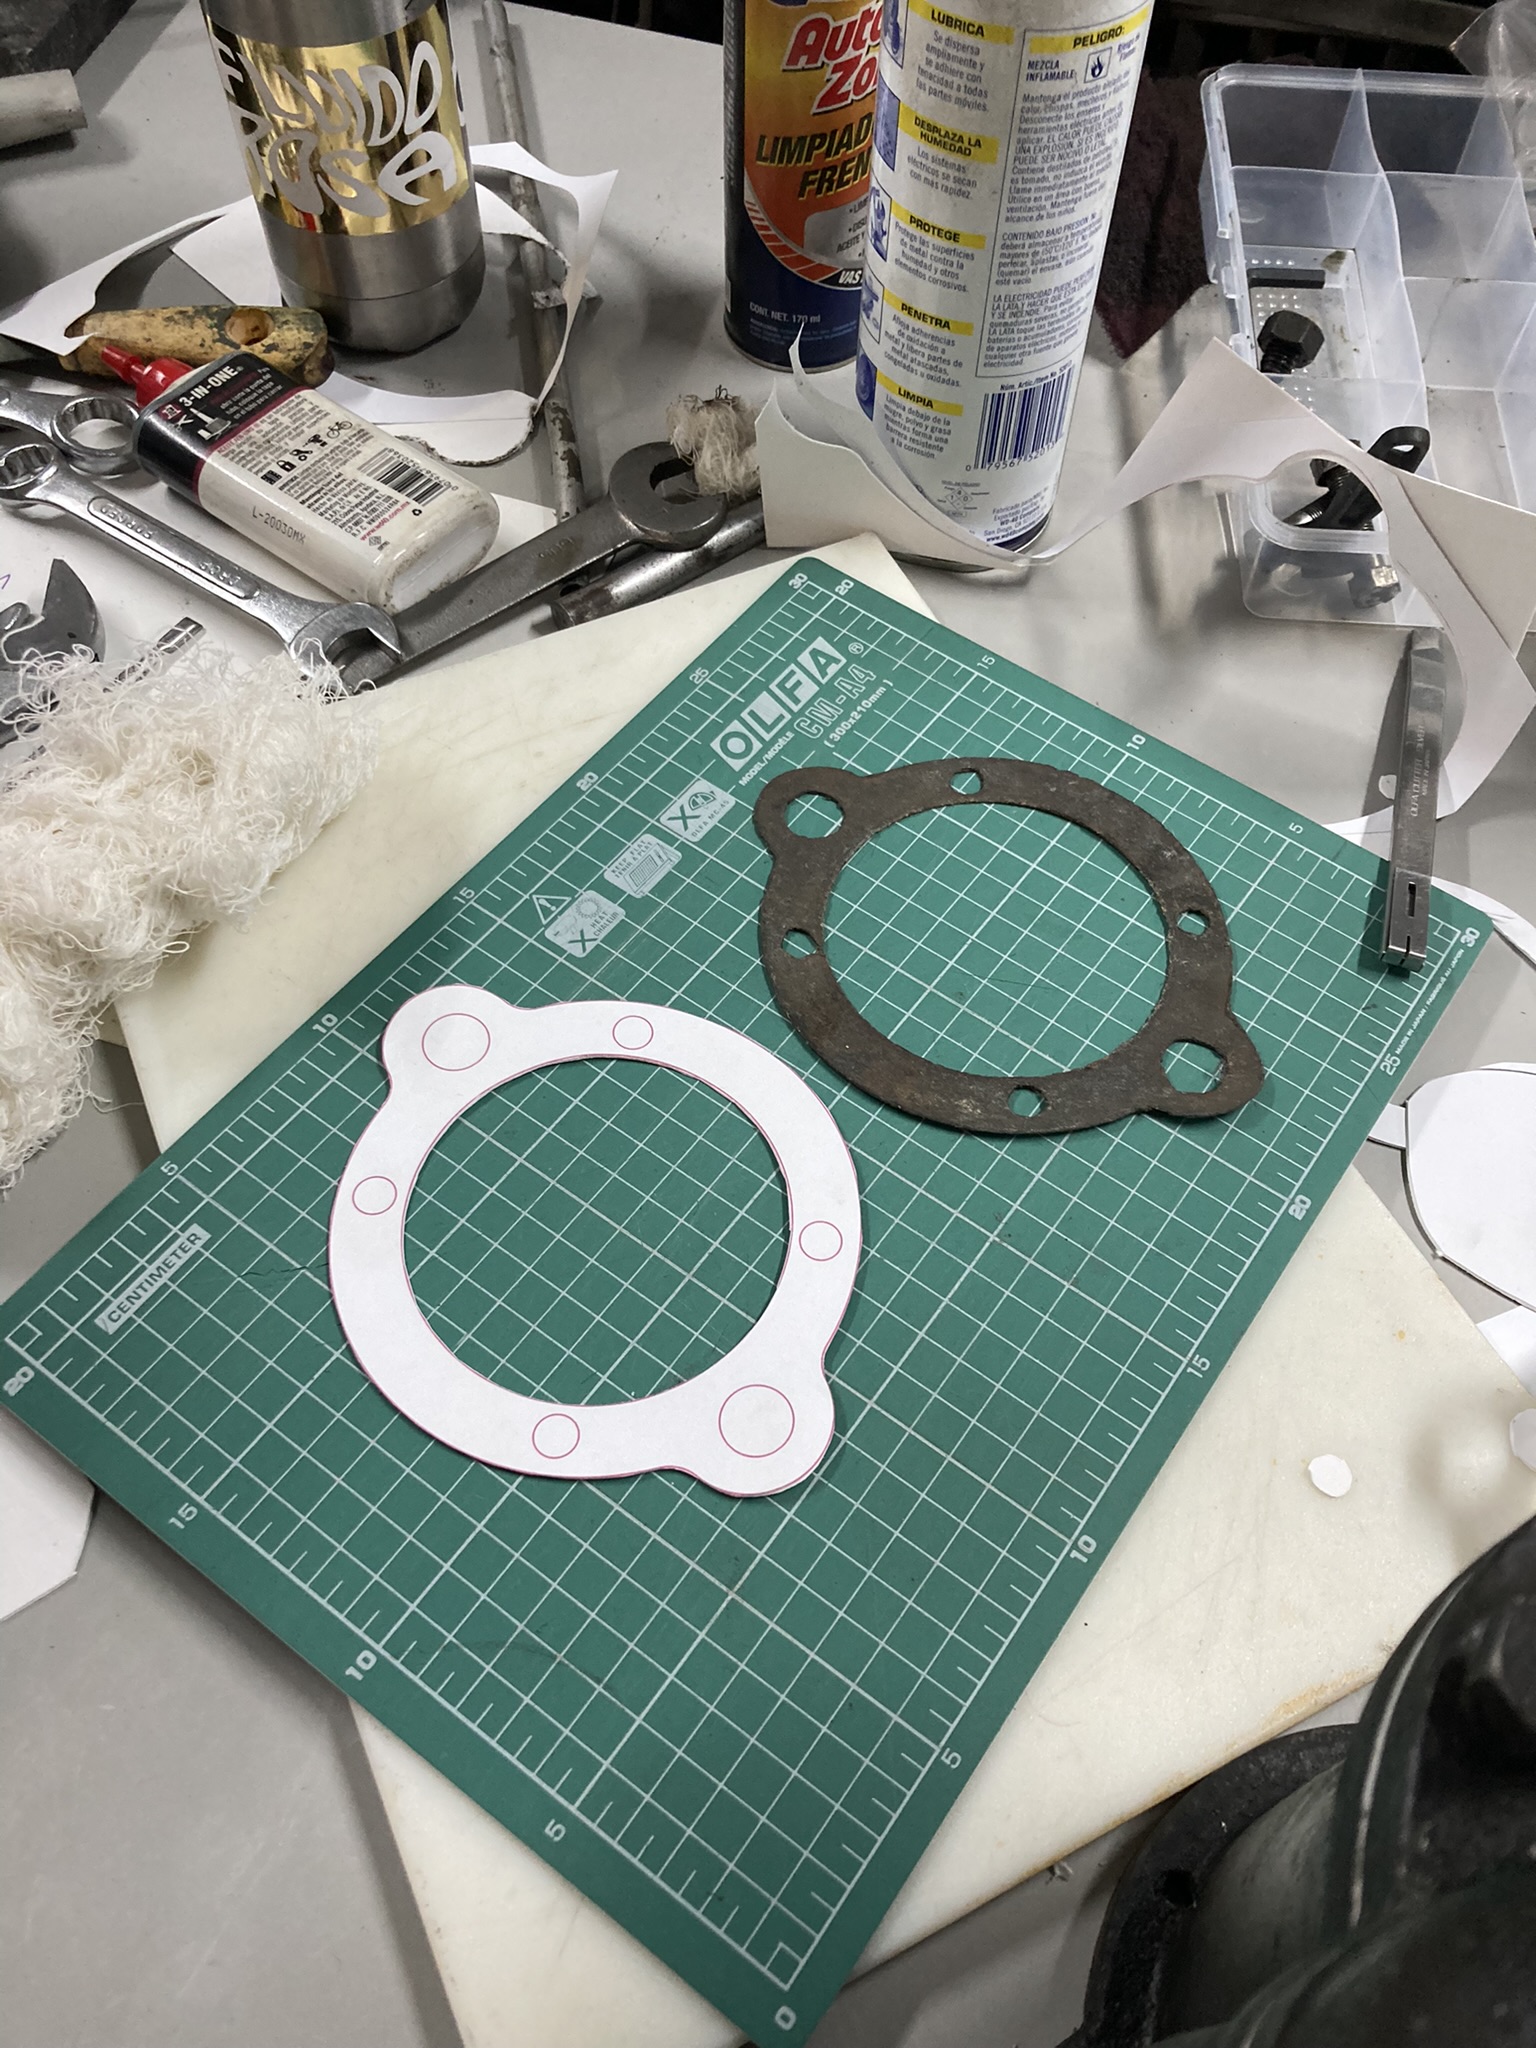
Next thing was to clean everything really well and put new gaskets, I cut them by hand with heavy cardstock and I think they’ll work fine.
Installing new gaskets
Here’s the template if you need it. I drew them myself from an old gasket.
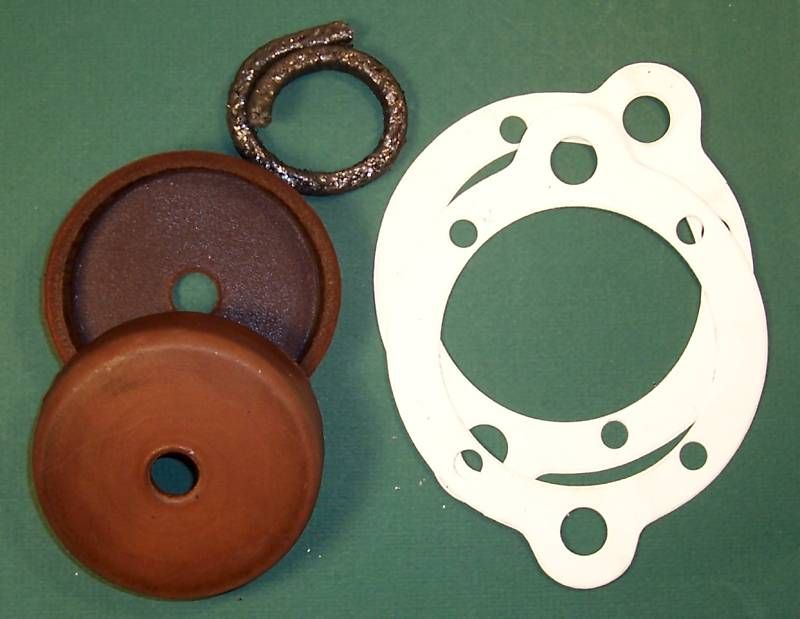
Now just need to lubricate the leather cups, because the pump still feels very stiff. I’m also looking into the possibility of finding a modern replacement with rubber cups.
The problem with the leather cups is that you can’t lubricate them with petroleum-based oils, from what I read, it will destroy the leather. It needs to be Neatsfoot Oil to nourish the leather.
There used to be an eBay seller located in Garland, TX with rebuild kits, but all it is left is this old listing archive: https://picclick.com/New-Vacuum-Pump-Rebuild-Kit-for-older-Kluge-251308364572.html it was $49.99 and it included the leather cups, gaskets, and shaft seal. I’m pretty sure a modern ring could also be used to seal the shaft.
An extra gallery with more photos.


Join our newsletter
Volutpat vel turpis nulla lorem sed semper. Aliquam sagittis sem libero viverra vehicula nullam ut nisl.